In Terminal
which python3
# /usr/bin/python3I’d been an avid R/RStudio (now Posit Workbench) user for 10+ years, but lately I’ve been spending a lot of time with Python in VS Code. Transitioning from one programming language and development environment to another was daunting at first, but Quarto opens up a world of new opportunities for learning new languages. This post covers setting up Quarto and Python in VS Code, learning pains, tips, and early successes.
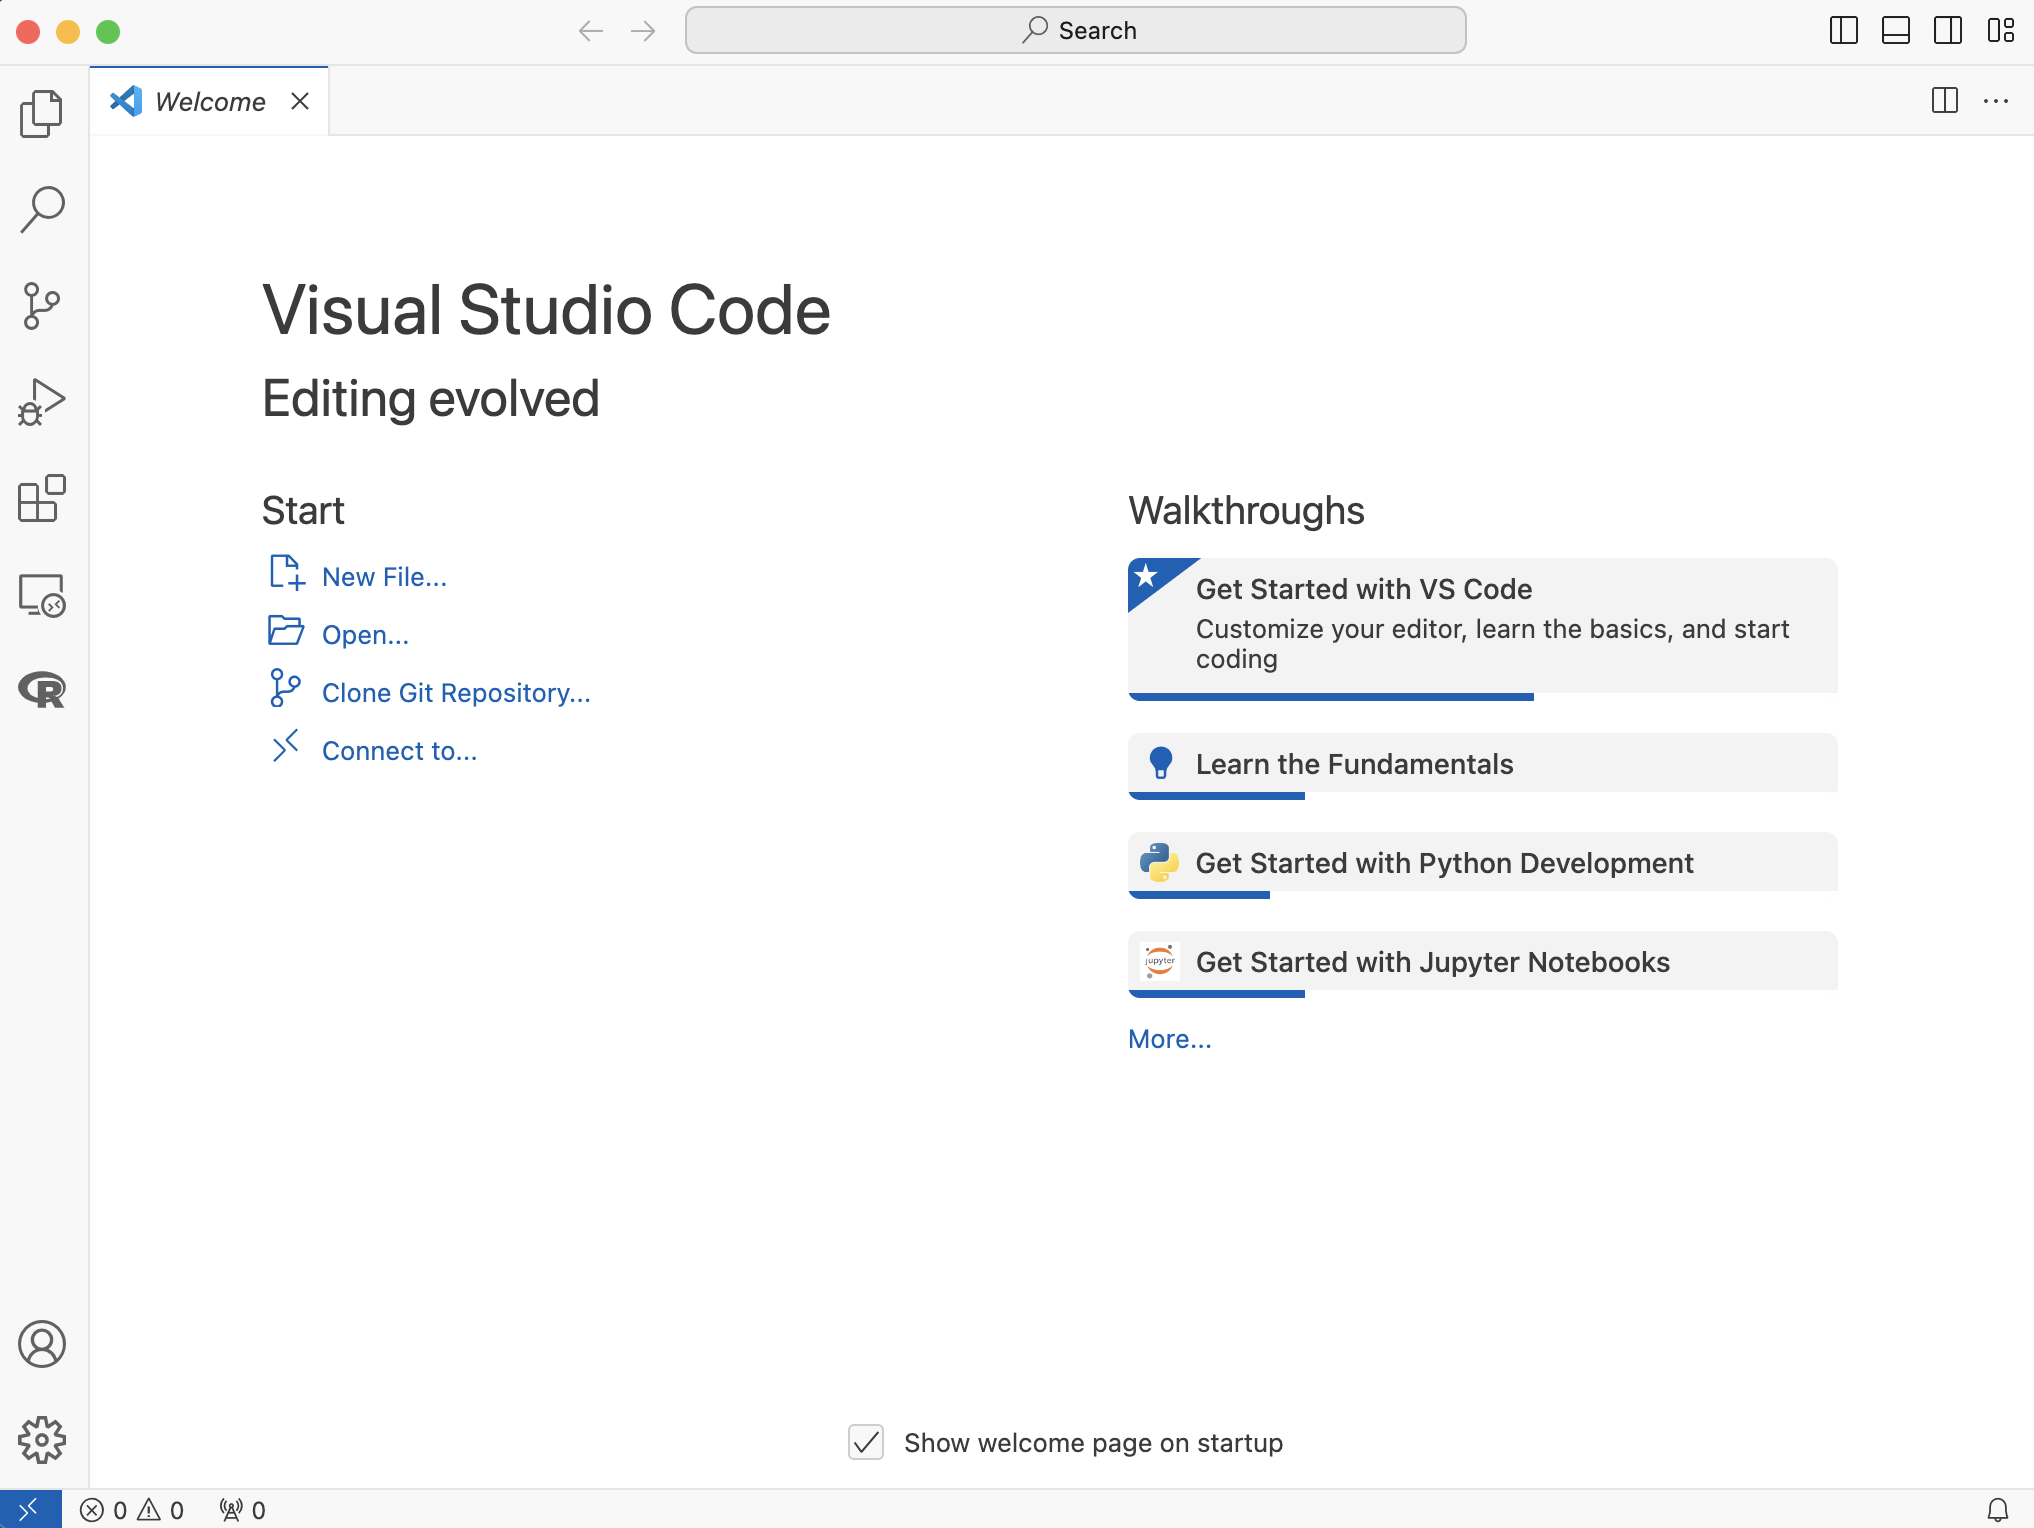
You can download VS Code from the official website. I recommend following the installation instructions for your particular operating system. After installing VS Code, you’ll want to install the Quarto extension and Python extension from Microsoft.
Now we’ll cover a few options for installing and using Python.
Installing Python was always a little fuzzy for me. There are multiple ways to install Python: from the official Python website; using a package manager like Chocolatey or Homebrew; or with an IDE like PyCharm or Anaconda. These options would often result in questions like:
How do I install Python on other operating systems (i.e., Windows and Linux)?
What is the differences between Python versions? Which one should I install and use?
How do I manage multiple Python versions on my machine?
Should I use anaconda or miniconda or pip for managing Python packages?
The safest way I found to install Python was to follow the following steps:
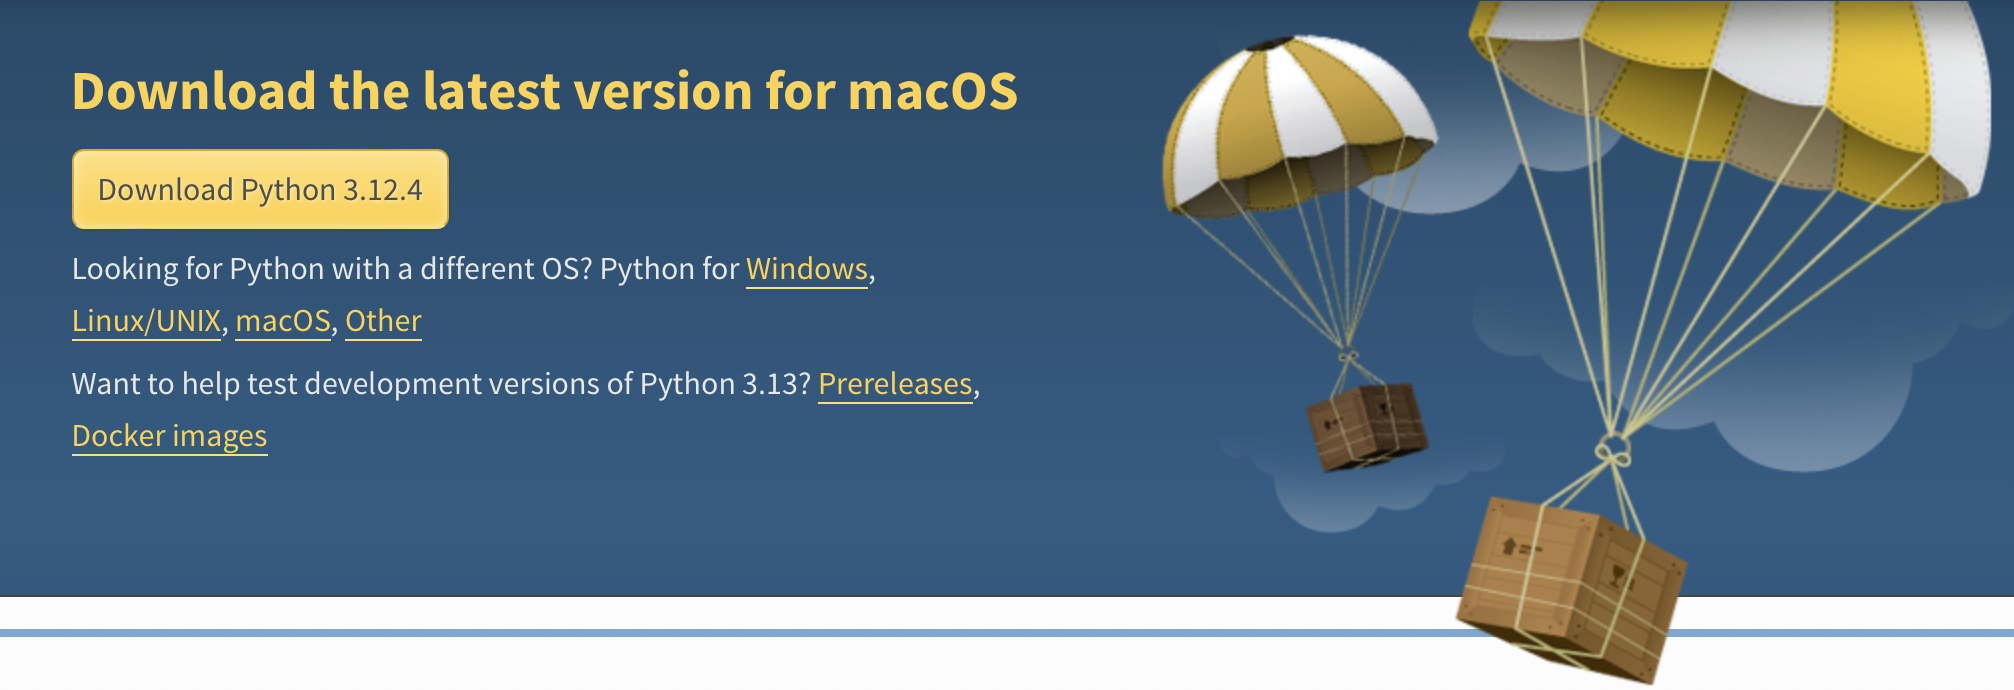
Go to the Python website.
Click on the “Downloads” tab and choose the appropriate version for your operating system (Windows, macOS, Linux).
PATH” during installation.When using Homebrew, it’s important to note the different locations for Python installations. The which command is helpful here:
which python3
# /usr/bin/python3/usr/bin/python3 is the system-managed Python installation. It’s minimal and less likely to change, and is intended to ensure stability.
If you’re using Homebrew to install Python, you’ll probably notice there are other installations of Python in /usr/local/bin. This is because /usr/local/bin is commonly location for user-installed software, separate from the system’s default utilities.1
tree -P "python*" /usr/local/bin -L 2
# /usr/local/bin
# ├── python3 -> ../Cellar/python@3.12/3.12.4/bin/python3
# ├── python3-config -> ../Cellar/python@3.12/3.12.4/bin/python3-config
# ├── python3.12 -> ../Cellar/python@3.12/3.12.4/bin/python3.12
# └── python3.12-config -> ../Cellar/python@3.12/3.12.4/bin/python3.12-config
#
# 1 directory, 4 files
The output above shows the files and the symbolic links they are referencing. The links are pointing to the actual binaries located under the ../Cellar/python@3.12/ directory.2
The symbolic links in /usr/local/bin are a modular approach to updating Python. This is handy for user-installed environments where installations or updates can be managed flexibly without disrupting the system’s core functionality.
The Python tutorial offered by VS Code also clarified many of the previous questions I’d struggle with.3
Locate and install the Python VS Code extension using the search bar in the Extensions:


Quarto can be downloaded and installed from its official website. Follow the platform-specific instructions to install it on your system. Make sure Quarto has been installed correctly and is available in your system’s PATH.
Check if Quarto is on PATH:
quarto --version
# 1.5.28
If it isn’t, you’ll need to add the location of your quarto installation to PATH. You can do that with the commands below (depending on your shell).
For Bash (common in Linux and older macOS versions):
echo 'export PATH="$PATH:/path/to/quarto"' >> ~/.bashrc
source ~/.bashrc
For Zsh (default in newer macOS versions):
echo 'export PATH="$PATH:/path/to/quarto"' >> ~/.zshrc
source ~/.zshrc
You can also use which to locate quarto path:
which quarto
# /usr/local/bin/quarto
Now that we have Quarto installed and configured, we’ll check our dependencies and install the VS Code extension to make sure VS Code can find Quarto and Python.
I highly recommend running quarto check to confirm Python and the other dependencies have been installed. I’ve provided the output from my setup and a brief description below:
Quarto installation displays the path to the installation of the current Quarto version.
Quarto 1.5.28
[✓] Checking versions of quarto binary dependencies...
      Pandoc version 3.1.11: OK
      Dart Sass version 1.70.0: OK
      Deno version 1.41.0: OK
      Typst version 0.10.0: OK
[✓] Checking versions of quarto dependencies......OK
[✓] Checking Quarto installation......OK
      Version: 1.5.28
      Path: /Applications/quarto/bin
tools checks for a TinyTex installation (and installs it if its not there), Latex confirms the installation of LaTeX or TinyTex and displays the path (in this case, the path to the TinyTex installation), and basic markdown rendering is confirmed.
[✓] Checking tools....................OK
      TinyTeX: (external install)
      Chromium: 869685

[✓] Checking LaTeX....................OK
      Using: TinyTex
      Path: /Users/username/Library/TinyTeX/bin/universal-darwin
      Version: 2023

[✓] Checking basic markdown render....OK
Python 3 installation returns the python and jupyter versions, the python installation path, and kernels.
[✓] Checking Python 3 installation....OK
      Version: 3.11.5 (Conda)
      Path: /Users/username/miniconda3/bin/python
      Jupyter: 5.7.2
      Kernels: python3

[✓] Checking Jupyter engine render....OK
Notice Quarto is using the python version installed in /Users/username/miniconda3/bin/python, not the /usr/bin/python3 version above.
R installation checks all the R stuff (LibPaths, knitr, rmarkdown)
[✓] Checking R installation...........OK
      Version: 4.3.2
      Path: /Library/Frameworks/R.framework/Resources
      LibPaths:
        - /Library/Frameworks/R.framework/Versions/4.3-x86_64/Resources/library
      knitr: 1.46
      rmarkdown: 2.26
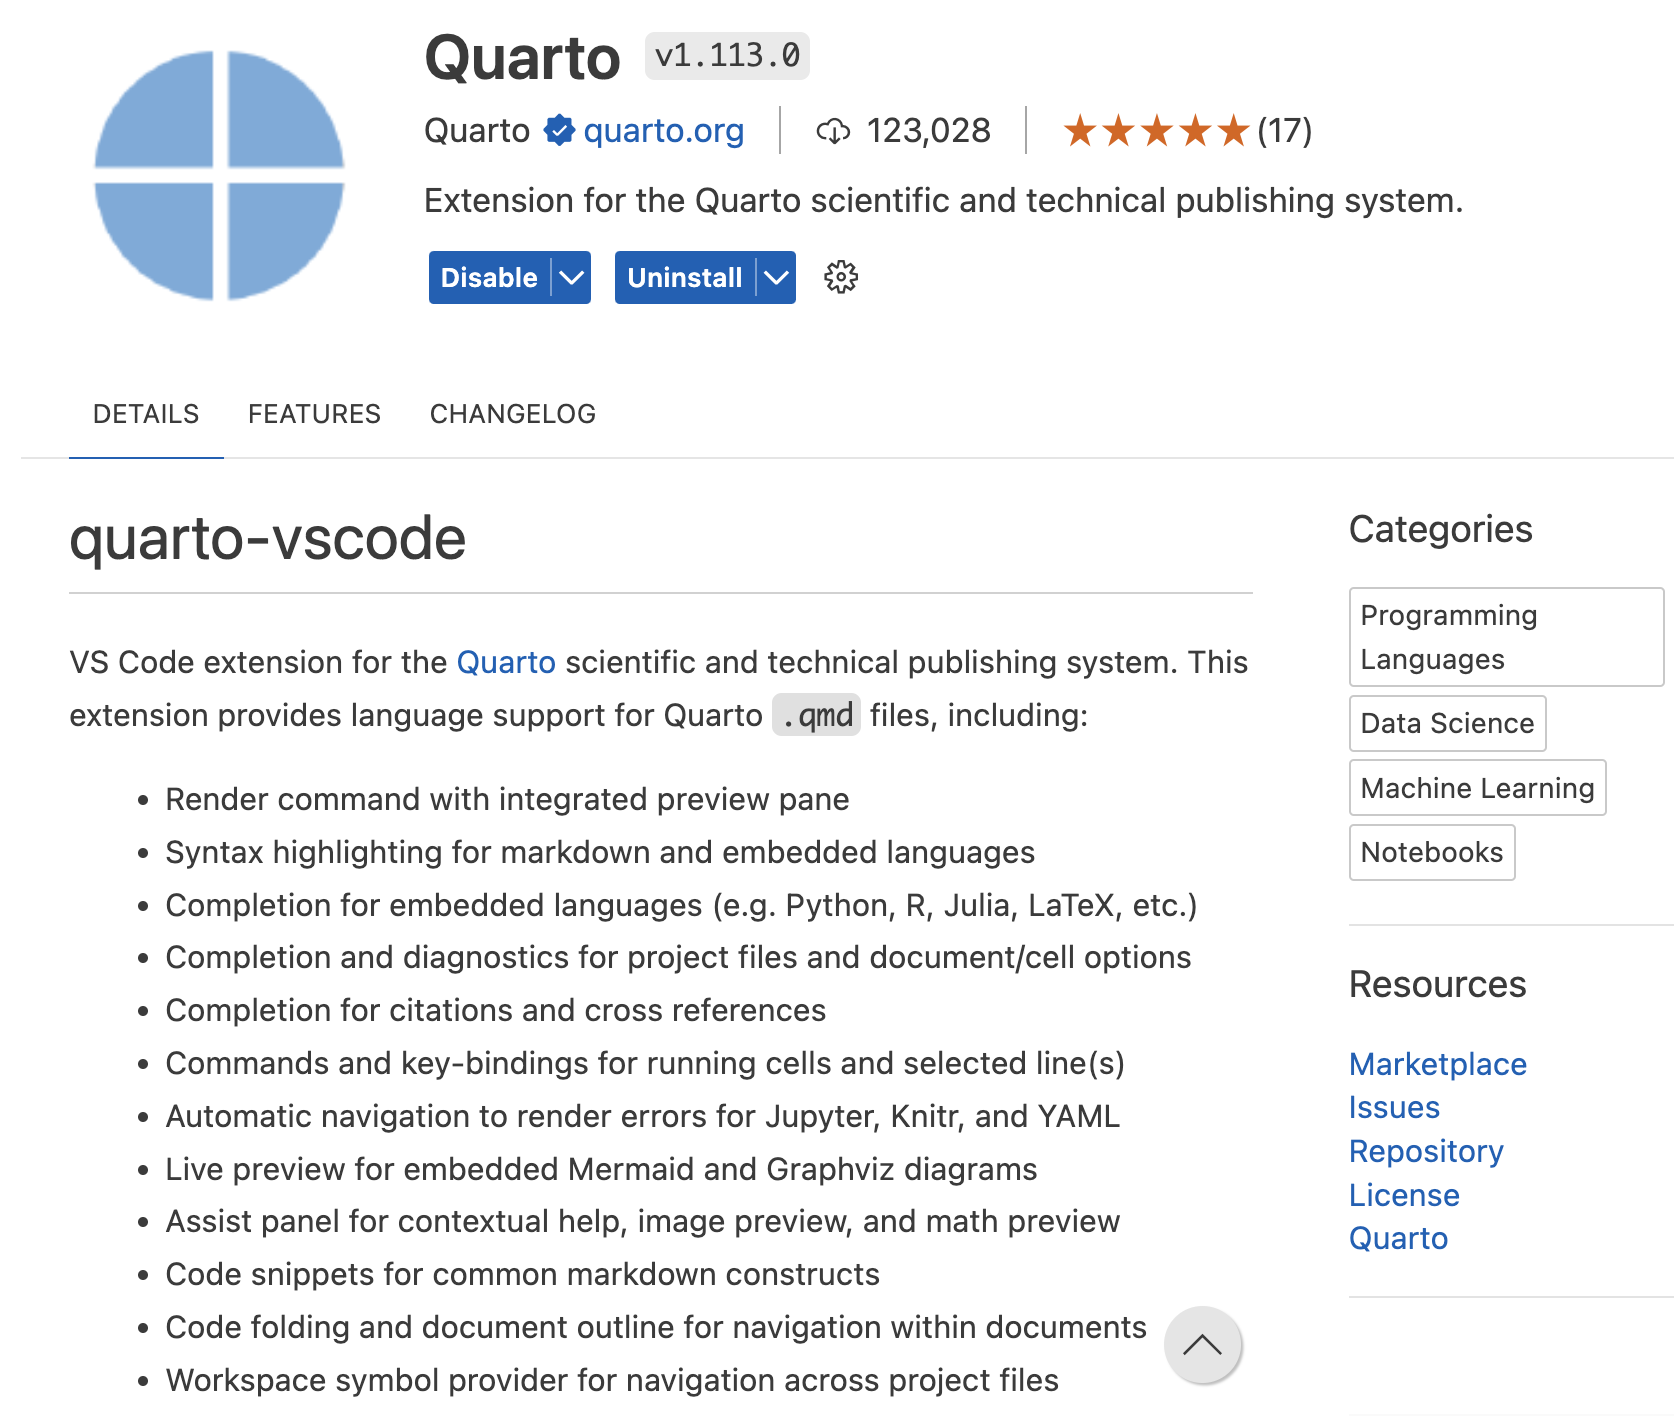
[✓] Checking Knitr engine render......OKAfter installing Quarto, locate and install the Quarto VS Code Extension from VS Code by searching for ‘Quarto’:
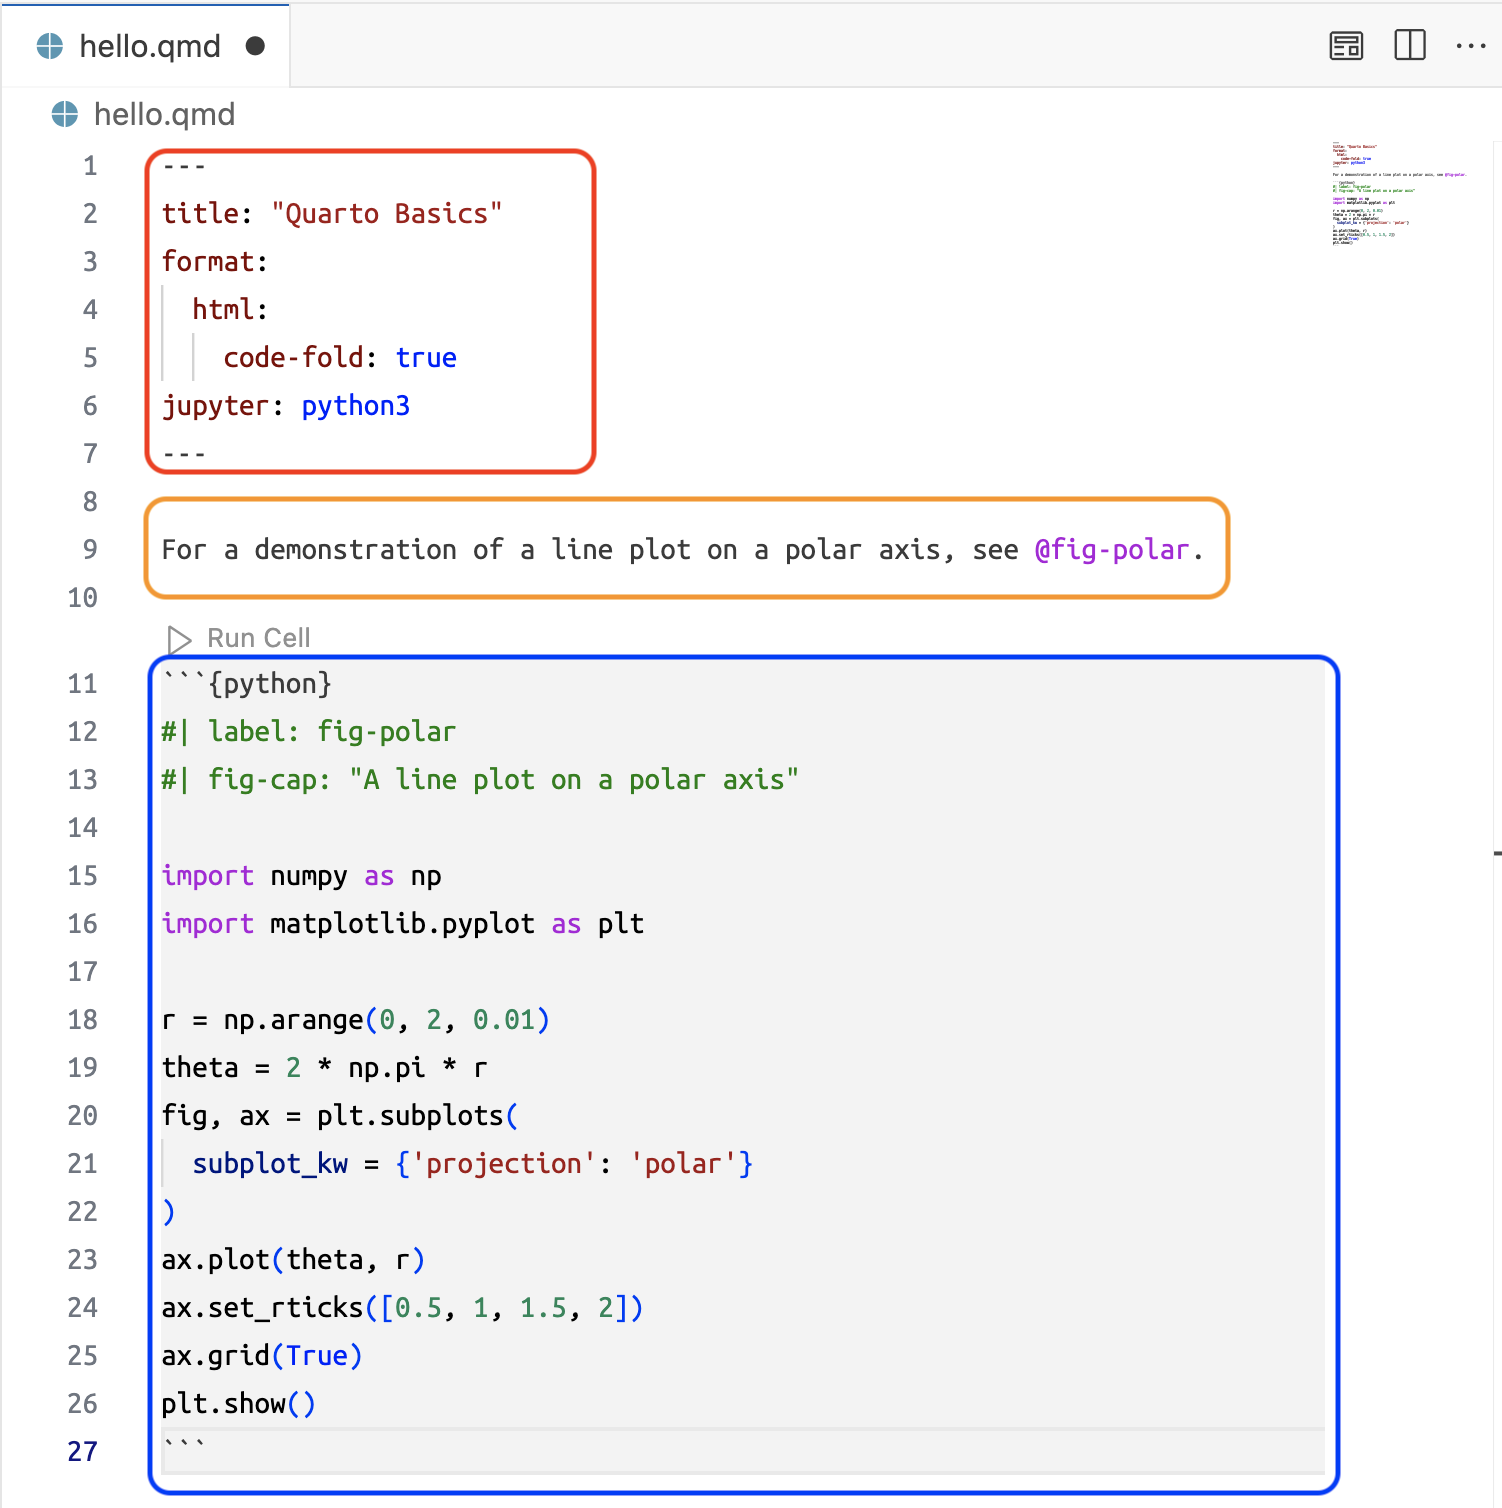
.qmd) filesI’ve created a hello.qmd file in the py-quarto-hello folder to run the example code from the Quarto website.4 The document contains a YAML header, some markdown text, and a Python code chunk.
We can select a Python interpreter to run Python in VS Code by using the command palette. Below are the available Python interpreters I can select on my machine:5
Command Palette Keyboard Shortcut:
Cmd + Shift + P
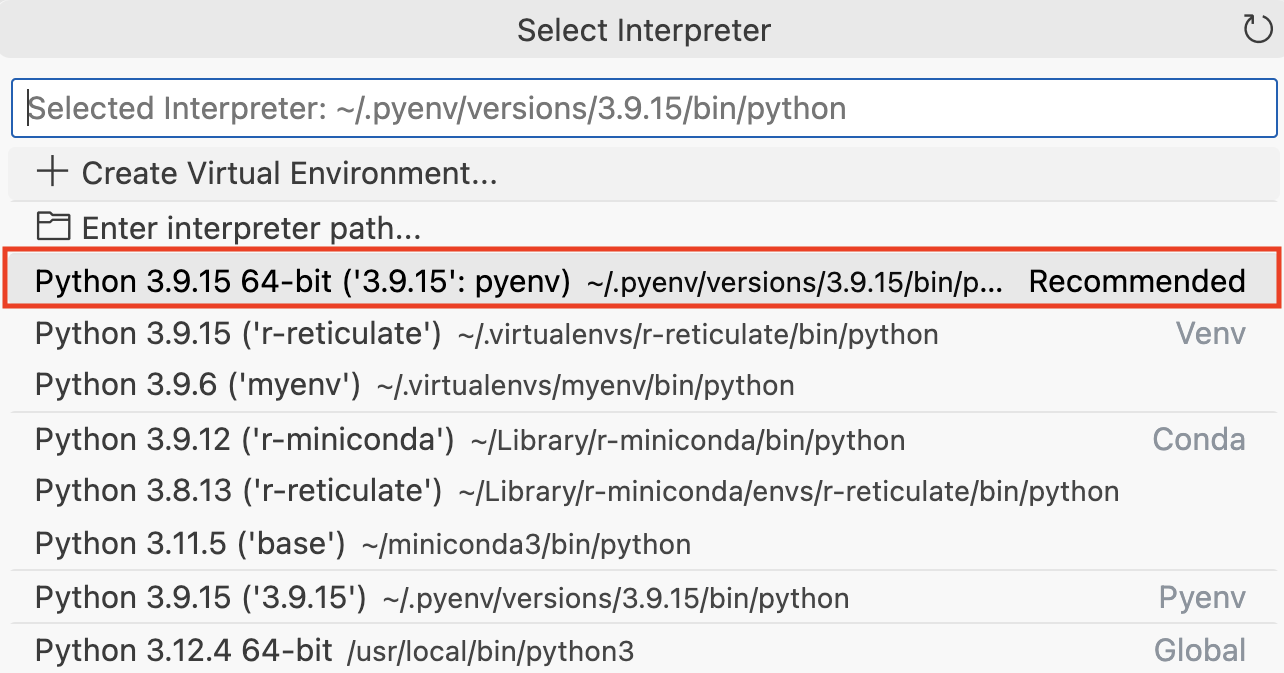
If I select the recommended Python interpreter in the command palette and run which python3 in the terminal inside VS Code, I see the following:6
which python3
# /Users/<username>/.pyenv/versions/3.9.15/bin/python3
But when I run which python3 in a Terminal outside of VS Code, I see the following:
which python3
# /Users/<username>/miniconda3/bin/python3
The differences in Python versions when running which python3 in the VS Code Terminal versus the iTerm2 Terminal are due to distinct Python environments being picked up by each terminal session.
pyenvIn the VS Code Terminal, which python3 identifies the Python version installed via pyenv. pyenv is a simple Python version management tool that allows you to easily switch between multiple versions of Python. It focuses primarily on managing different versions of the Python interpreter.7
pyenv modifies the PATH to prioritize its versions of Python over system-installed versions (like the one stored in /usr/bin/python3):
pyenv environment/Users/username/.pyenv/versions/3.9.15/bin/python3miniconda3The output from which python3 in the iTerm2 terminal indicates it’s using Python from a Conda environment.–specifically, miniconda.
miniconda is a popular package, dependency, and environment management system which is typically used for scientific computing and data science, where managing complex dependencies is crucial. The miniconda environment has its own isolated directory, separate from the system-wide installations (like /usr/bin/python3).
/Users/<username>/miniconda3/bin/python3The primary reason for the differences between the VS Code terminal and iTerm2 is how the PATH environment variable is set up in each terminal instance. VS Code’s terminal is configured to add the pyenv managed Python to the PATH ahead of the miniconda managed version, resulting in the pyenv version being used when which python3 is executed.
pyenv manages multiple Python versions by manipulating the PATH environment variable and does not concern itself with non-Python dependencies.
miniconda generally creates and manages self-contained environments that include Python and other dependencies. It modifies the PATH within the shell it’s activated in, which might be automatically configured in your standard macOS Terminal.
The table below compares key features between pyenv and miniconda:
| Feature | Pyenv | Miniconda |
|---|---|---|
| Python Version Management | Yes | Yes |
| Virtual Environment | Yes (with pyenv-virtualenv) | Yes |
| Package Management | Basic (via pip) | Advanced (via Conda) |
| Cross-Language Support | No | Yes |
| Dependency Management | Limited | Robust |
| Ideal for Simple Projects | Yes | No |
| Ideal for Complex Projects | No | Yes |
| Multi-Language Support | No | Yes |
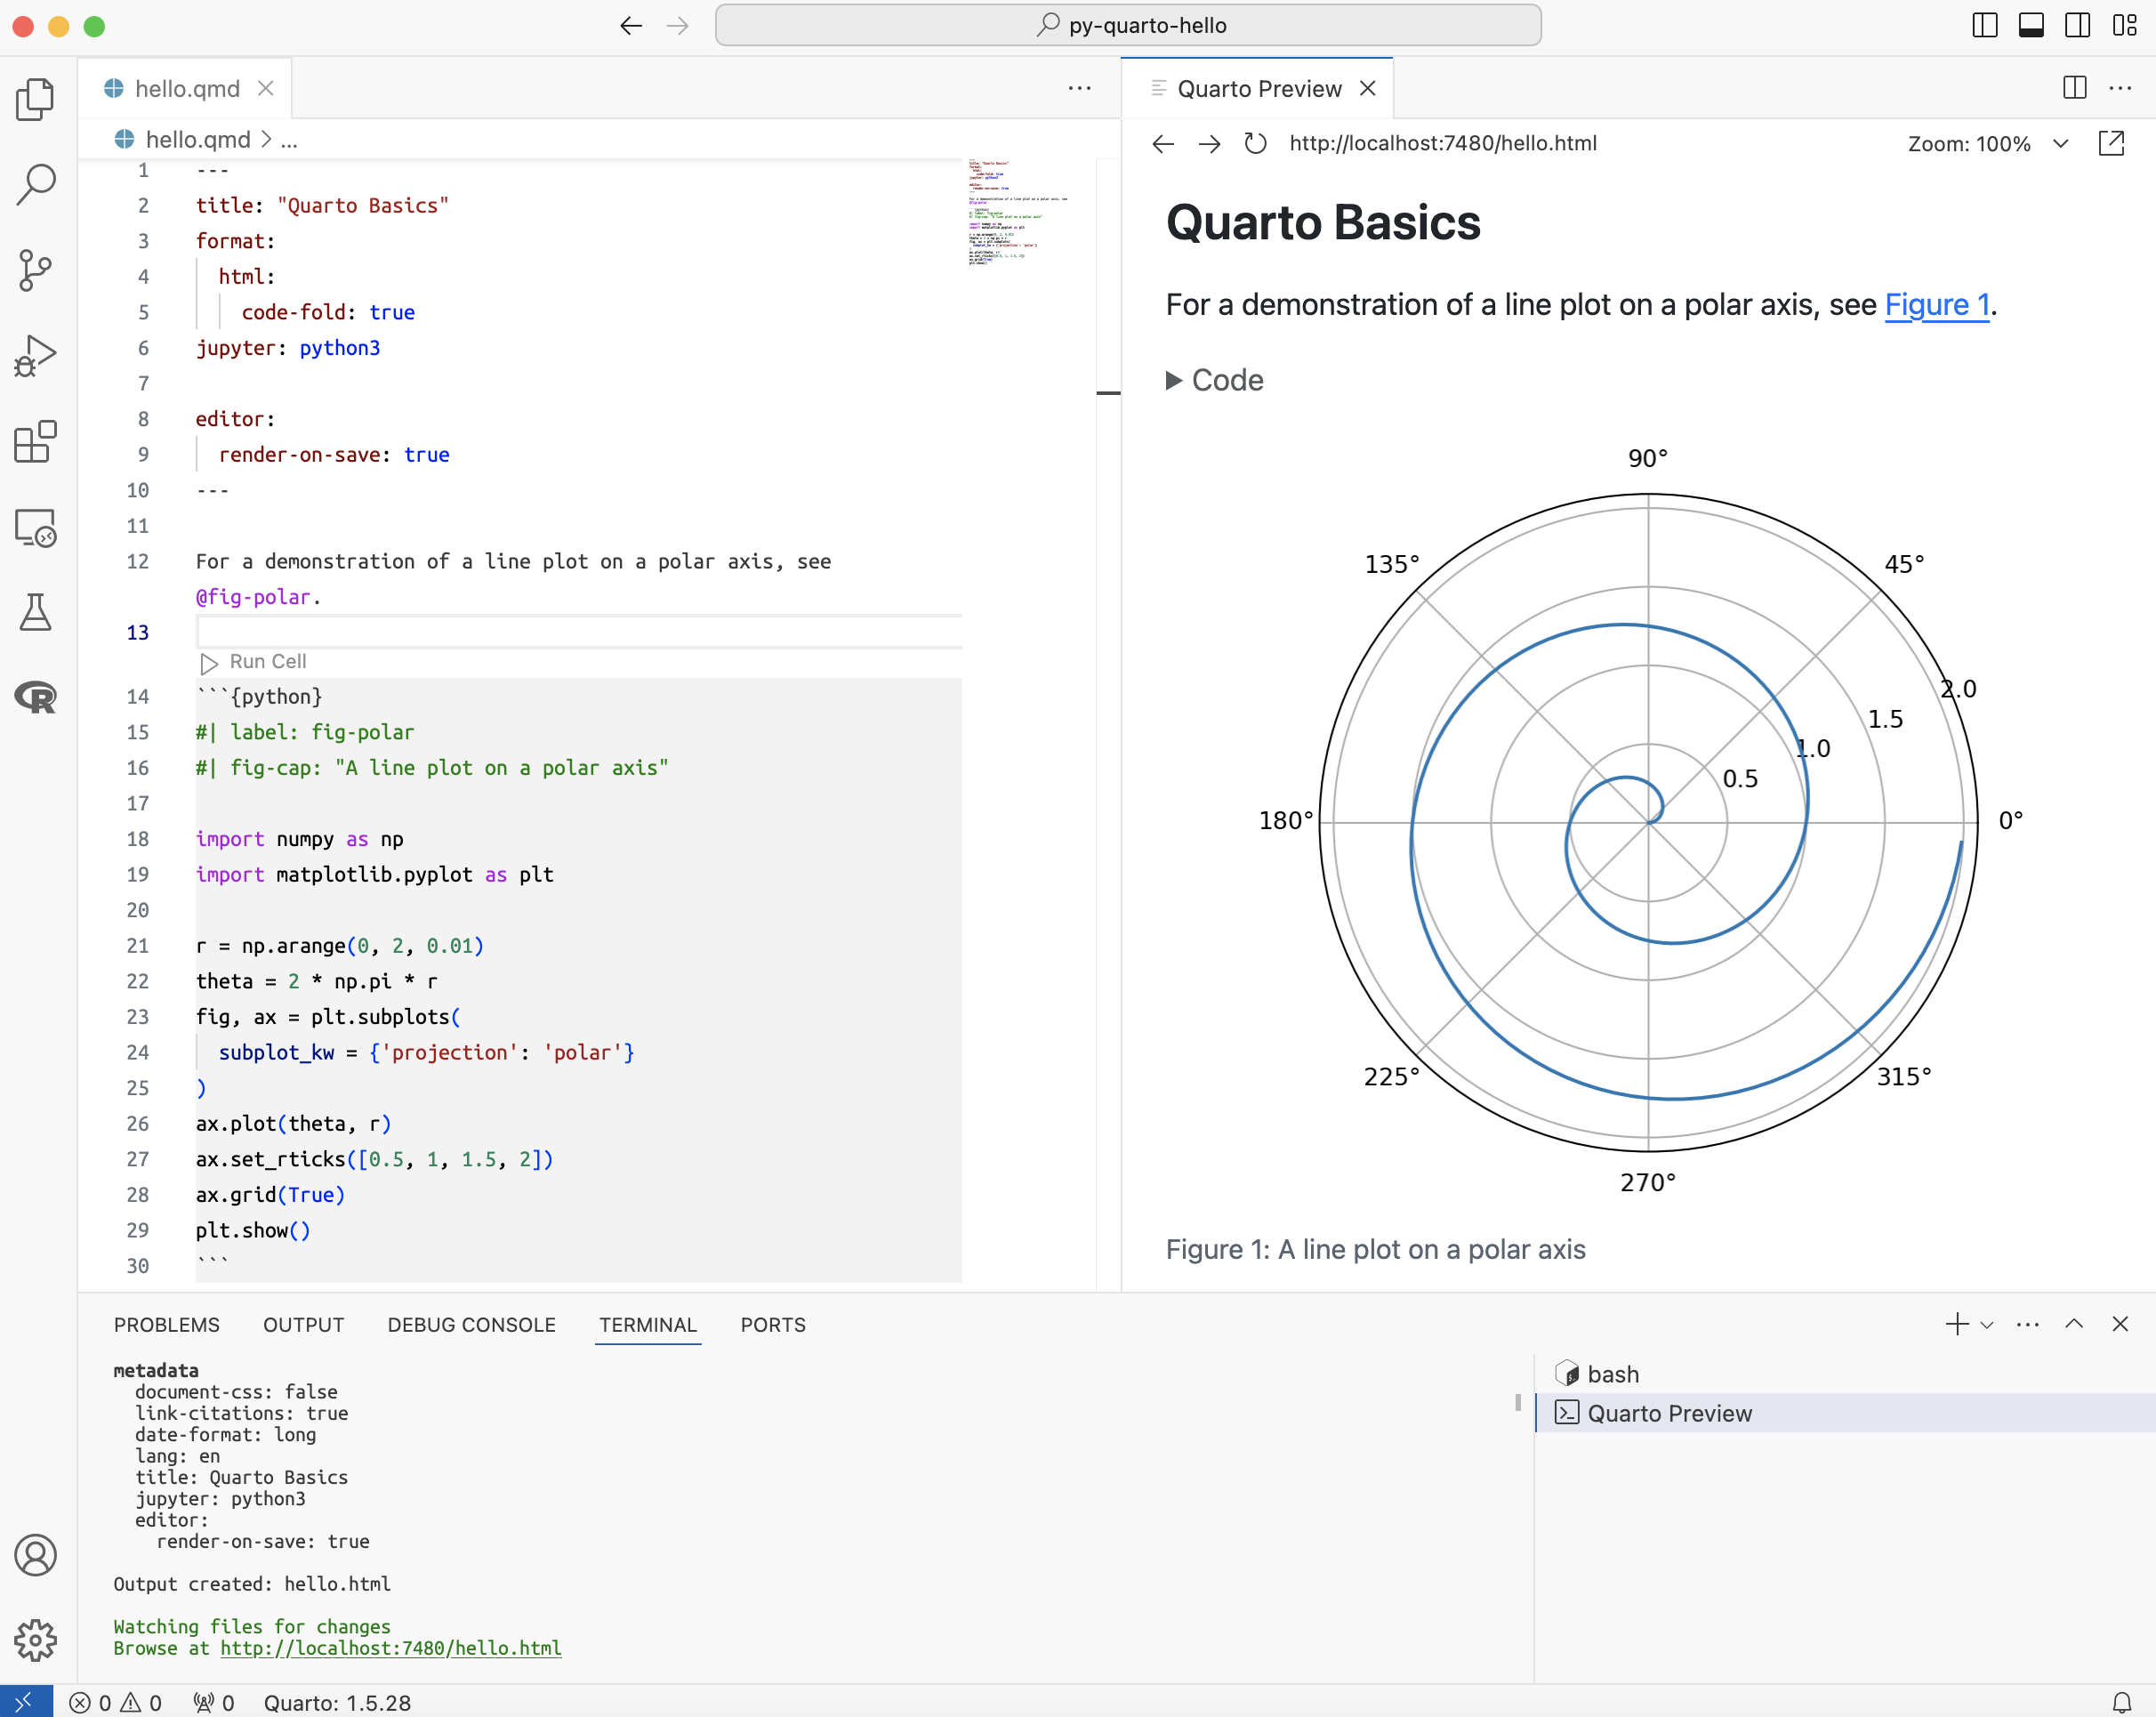
We’re finally ready to render our Quarto document! Quarto documents can be rendered by clicking on the Preview icon:
Quarto Render Keyboard Shortcut:
Shift+Cmd+K
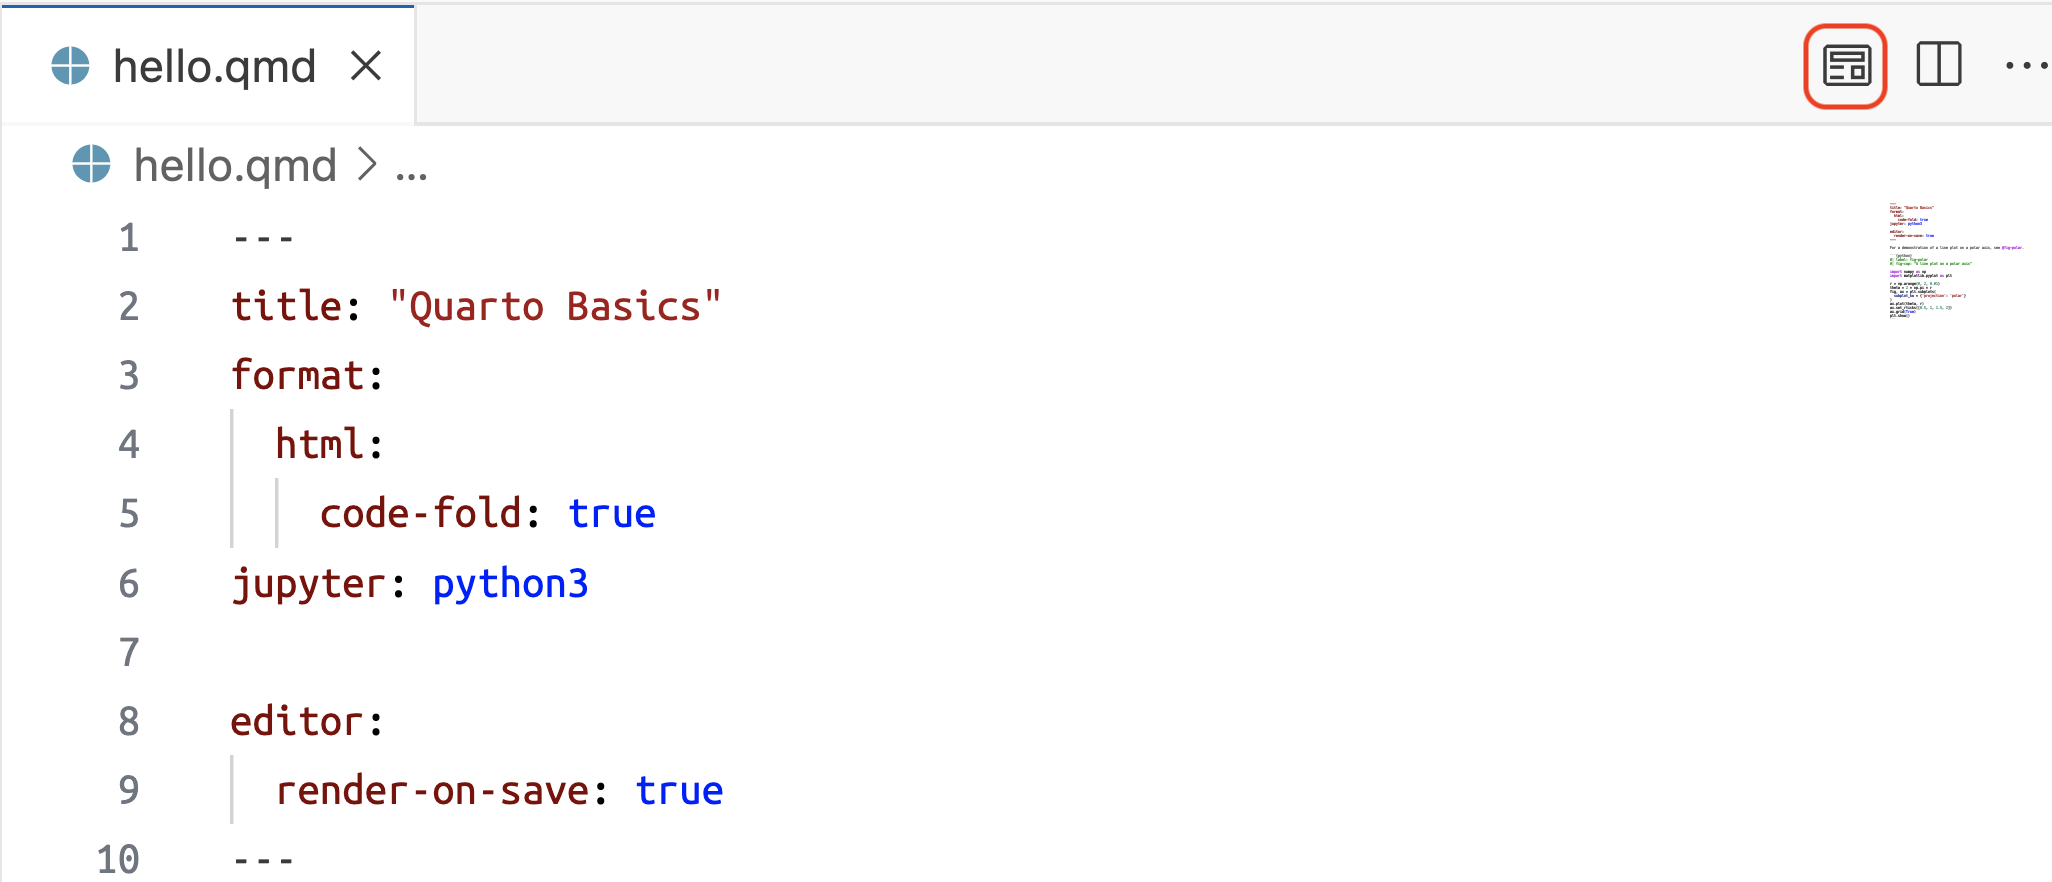
I’ve also added editor: render-on-save: and set the value to true so the document will automatically render in the Quarto preview pane.
If we continue adding the Python code 8 to our Quarto document, it’s a good practice to create and work within a virtual environment to manage project-specific dependencies. We can do this by entering the following in the VS Code terminal:
python -m venv .venv
source .venv/bin/activate
The commands above uses the venv module that is included with Python to create a virtual environment. .venv is the directory where the virtual environment will be created. Inside this directory, a standalone Python environment is set up. This environment includes its own Python interpreter and a site-packages directory where Python packages can be installed independently of the global Python environment.
The source .venv/bin/activate command adjusts the environment variables so the shell uses the Python interpreter and libraries from the virtual environment instead of the global Python installation. Any Python packages installed using pip will be installed in the virtual environment’s site-packages directory.
pip install jupyter matplotlib plotly pandasOnce all the dependencies are installed, we should generate a list of all installed packages along with their versions in a requirements.txt file using the pip freeze command:
pip freeze > requirements.txtWe should also include our virtual environment folder in the .gitignore file (because all of the dependencies are safely listed in the requirements.txt).
# Ignore the virtual environment directory
.venv/
We can also add a _quarto.yml file to store project-level metadata like styling, outputs, and code cell configurations.
project:
  title: "Python in Quarto"
  output-dir: .

toc: true
toc-title: Contents
toc-location: left
toc-expand: true
number-sections: false

format:
  html:
    code-fold: show

editor:
render-on-save: trueRami Krispin also has a great guide for setting up Python and Docker in VS Code. The Quick Start Guide for Python in VS Code has a lot of information (and .gifs!). Eric Nantz also has a fantastic and thorough Setting up my Quarto adventures! video on the Shiny Developer Series YouTube channel, too.
I display these below using the tree command.↩︎
This is typical of Homebrew installations on macOS, where Homebrew installs software under /usr/local/Cellar and creates symlinks in /usr/local/bin for easy execution.↩︎
The example code in hello.qmd comes from the Render and Preview section.↩︎
The path of the recommended interpreter is ~/pyenv/versions/3.9.15/bin/python.↩︎
I’ve replaced my username with <username>.↩︎
The Python code we’re using comes from the Computations section of the Quarto website.↩︎