Getting started with modules
getting-started.RmdPurpose
The purpose of this vignette is to demonstrate how NS()
and moduleServer() create isolated namespaces for the IDs
in a module. To do this, I’ll create a basic module:
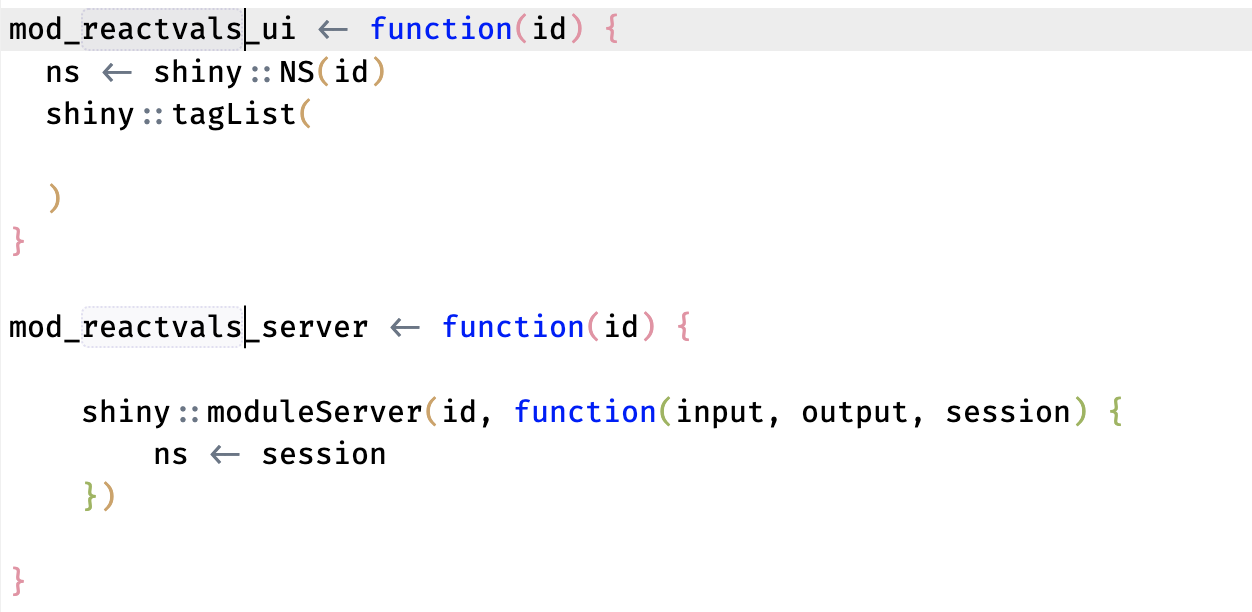
reactvals
The packages I’ll use are loaded below:
Creating modules (with a snippet)
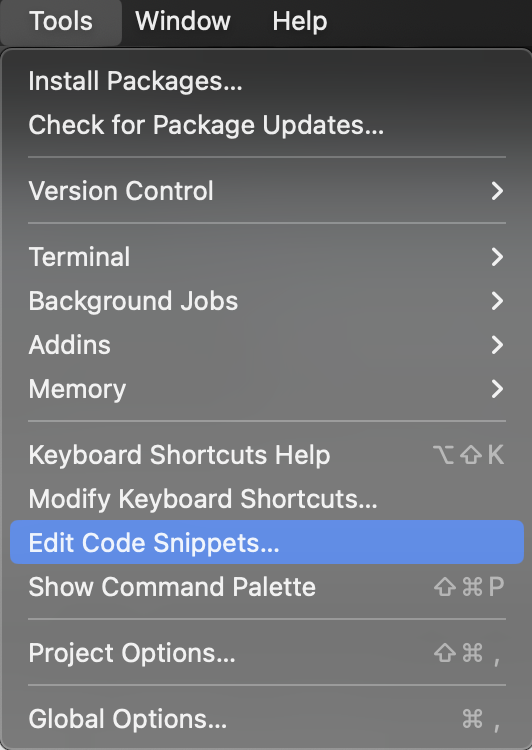
The fastest way to add a module is using Posit’s code snippets, which I can access using Tools > Edit Code Snippets :
This will open the Edit Snippets window where I can
add or edit the existing code snippets. I’ll place the new
module snippet at the end/bottom:
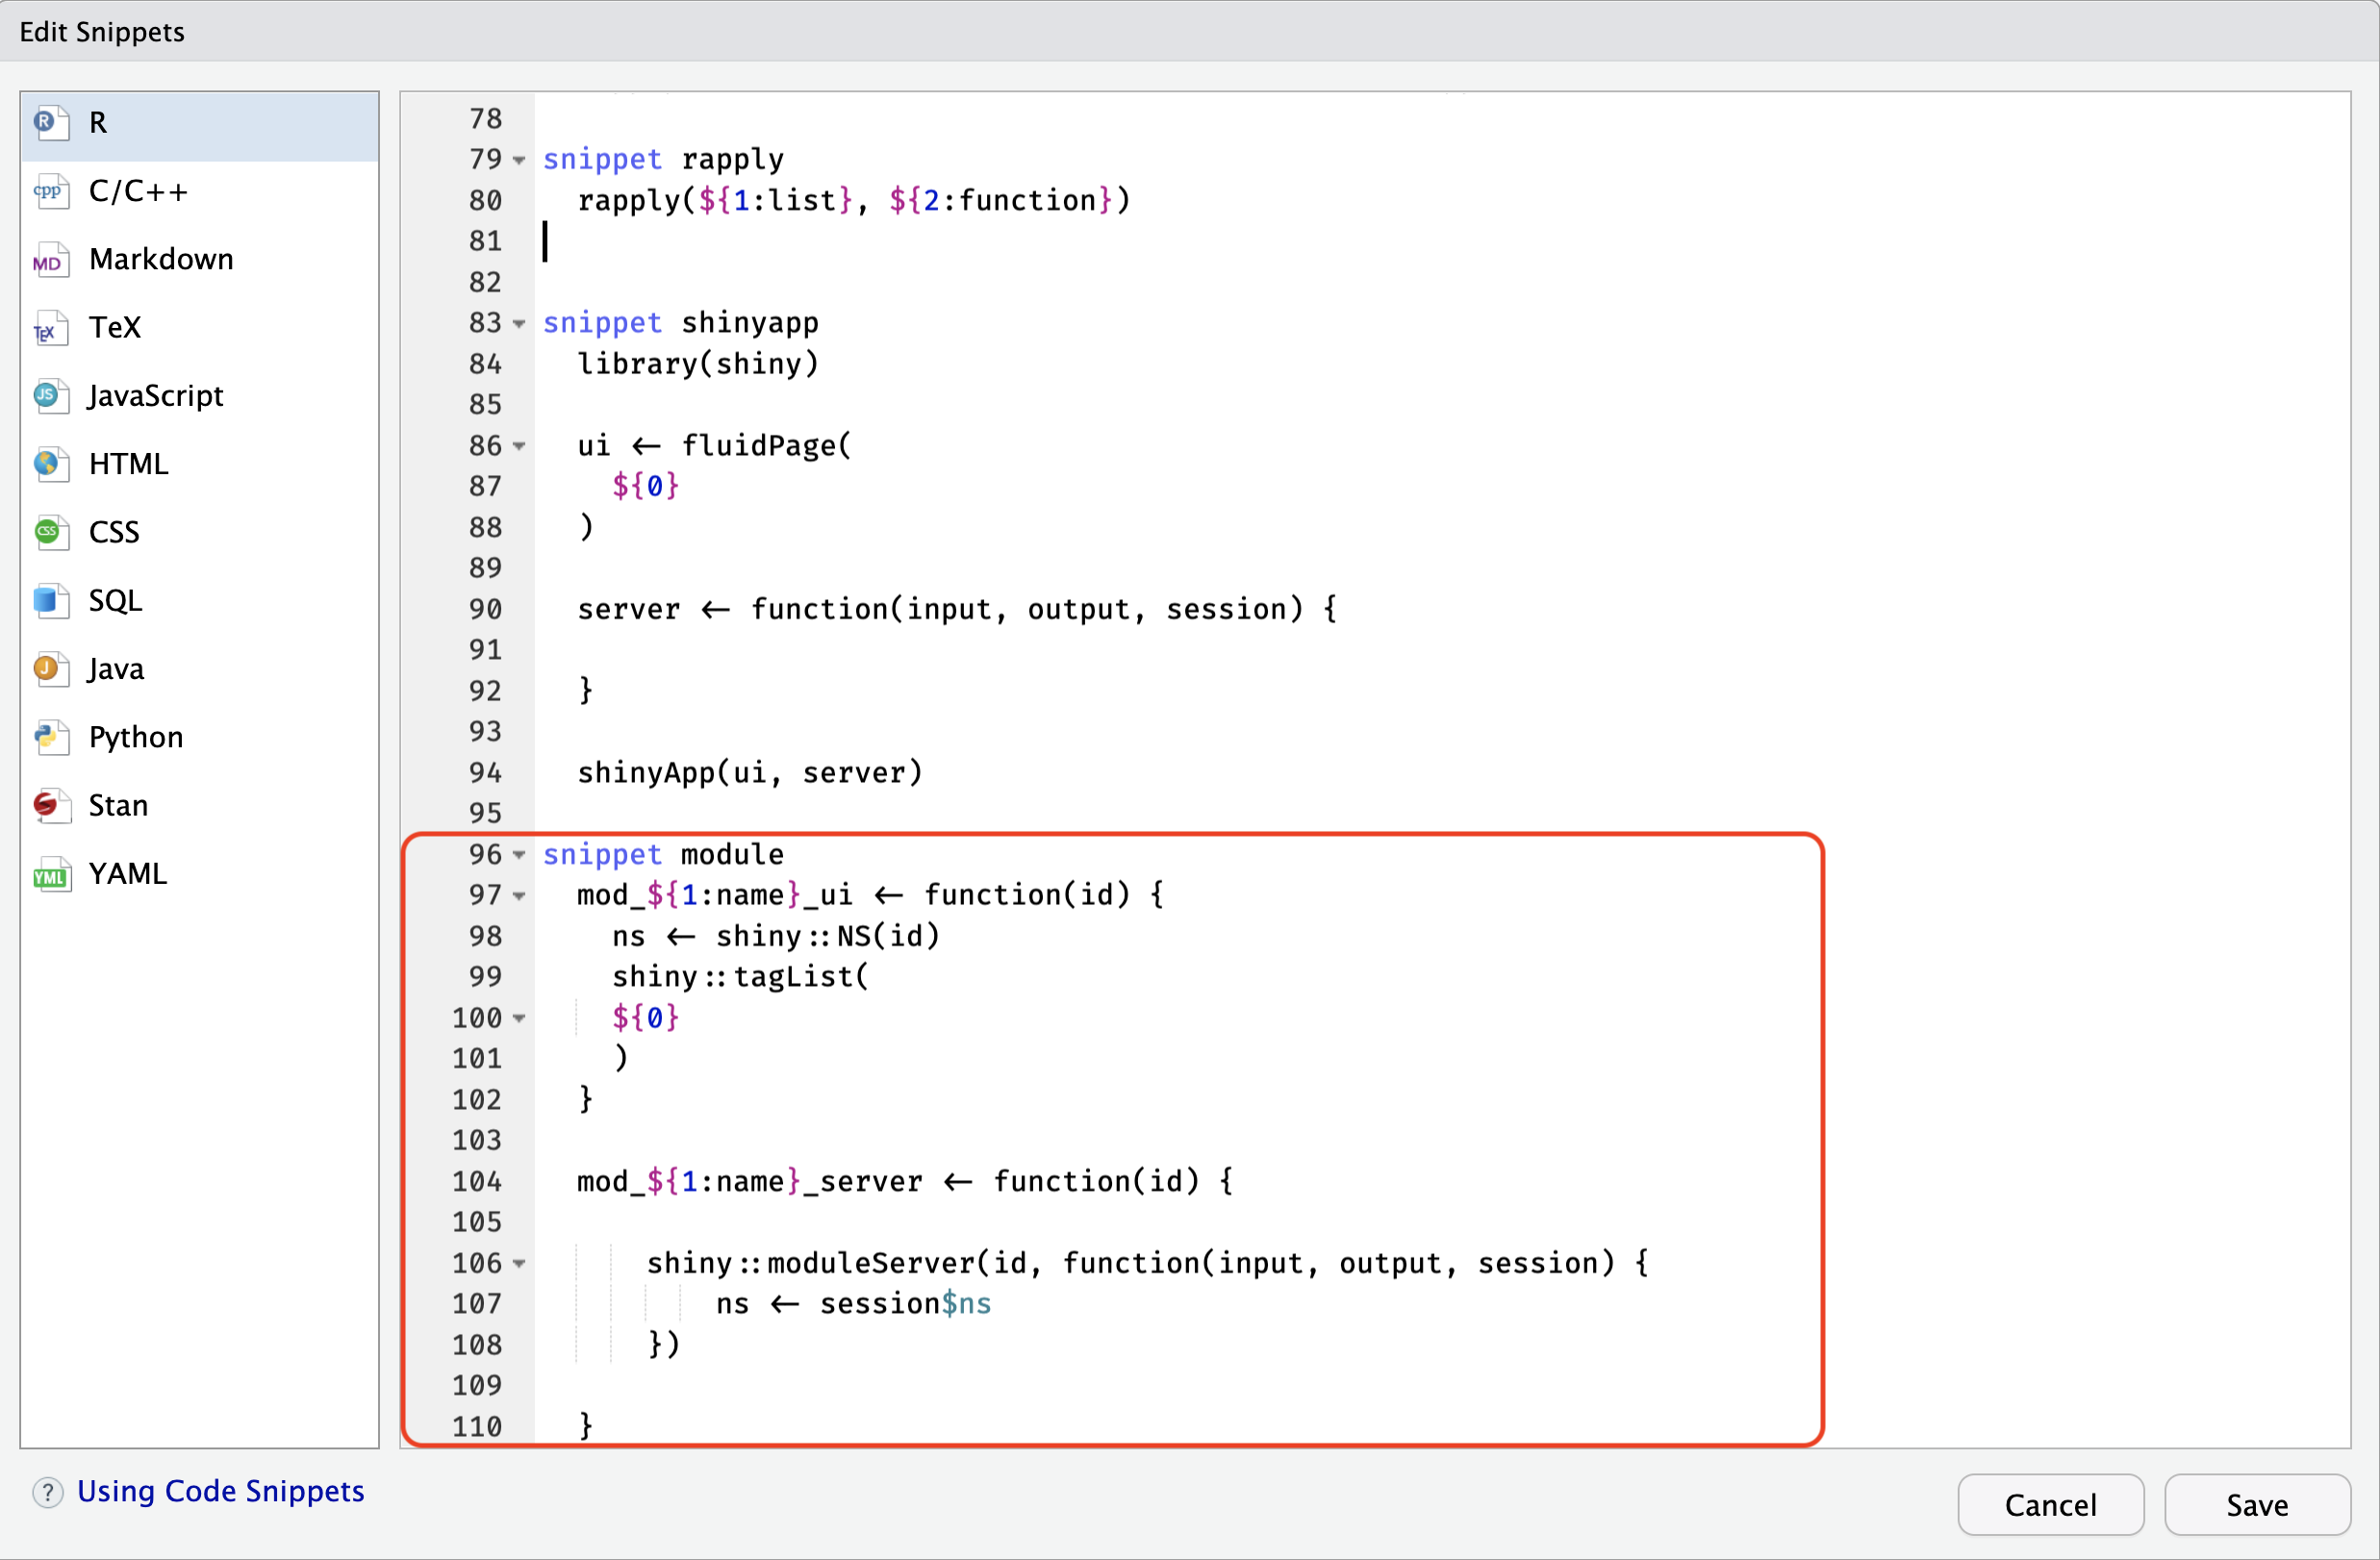
The code to create a module with a snippet is below:
-
Note that I’m using a
mod_prefix on both functions, and the_uiand_serversuffixsnippet module mod_${1:name}_ui <- function(id) { ns <- shiny::NS(id) shiny::tagList( ${0} ) } mod_${1:name}_server <- function(id) { shiny::moduleServer(id, function(input, output, session) { ns <- session$ns }) }
After entering the snippet code, I click Save. To
create a new module, I create the .R file using the drop-down or
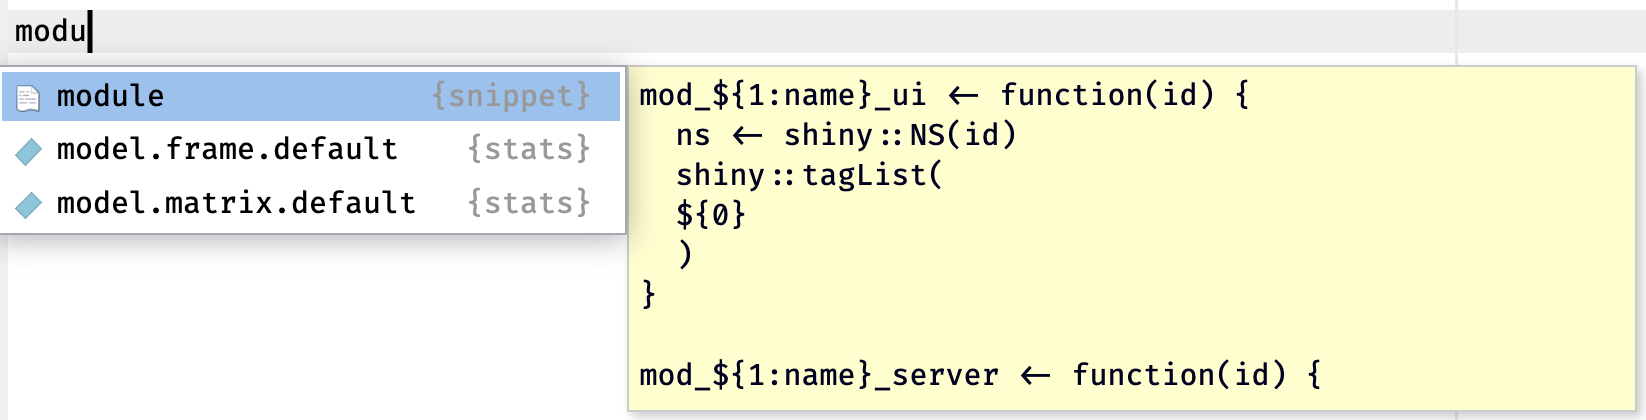
usethis::use_r(), then start typing
module:
- This module naming convention is my preference, but it’s a good practice to make sure you can easily identify the UI and server module function pairs (and being able to use the tab-completion is always nice, too)
I can hit tab and BAM–new code for my module:
mod_name_ui <- function(id) {
  ns <- shiny::NS(id)
  shiny::tagList(

  )
}

mod_name_server <- function(id) {

    shiny::moduleServer(id, function(input, output, session) {
        ns <- session
    })

}
My cursor is set on the <name> for both
the UI and server module functions, so I can just type the new name of
my new module:
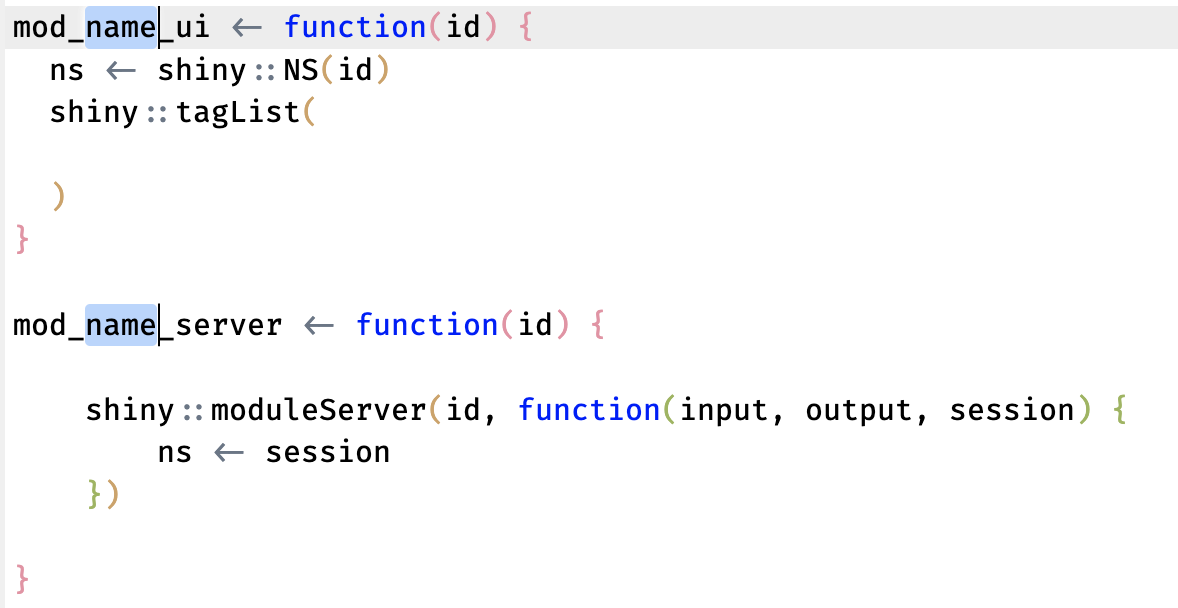
And it changes in both places:
This is also covered in Mastering Shiny.
Creating modules (with shinymods)
# put in UI ----
  mod_reactvals_ui <- function(id) {
  ns <- shiny::NS(id)
  shiny::tagList(
    shiny::fluidRow(
      shiny::column(
        width = 12,
        shiny::verbatimTextOutput(
          outputId = ns('vals')
        )
      )
    )
  )
}

# put in server ----
      mod_reactvals_server <- function(id) {
        shiny::moduleServer(id, function(input, output, session) {
          ns <- session$ns
          output$vals <- shiny::renderPrint({
            vals <- shiny::reactiveValuesToList(
              x = input, all.names = TRUE
            )
            print(vals)
          })
        })
    }
Module structure
mod_reactvals_ui <- function(id) {
  ns <- shiny::NS(id)
  shiny::tagList(

  )
}

mod_reactvals_server <- function(id) {

    shiny::moduleServer(id, function(input, output, session) {
        ns <- session
    })

}
The app below is identical to the app in Getting Started with {shinytest2} Part I | Example + basics | RStudio.
library(shiny)
library(stringr)

ui <- shiny::fluidPage(
  shiny::textInput("name", "what is your name"),
  shiny::actionButton("greet", "Greet"),
  shiny::textOutput("greeting"),
  shiny::textOutput("first_letter")
)

server <- function(input, output, session) {

  output$greeting <- shiny::renderText({
    shiny::req(input$name)
    paste0("Hello ", input$name, "!")
  }) |>
    bindEvent({input$greet})

  first_letter <- shiny::reactive({
    shiny::req(input$name)
    stringr::str_to_lower(
      stringr::str_extract(input$name, "^."))
  }) |>
    shiny::bindEvent({input$greet})

  output$first_letter <- shiny::renderText({
    paste0("The first letter in your is ",
          first_letter(), "!")
  })

}

shiny::shinyApp(ui, server)