Good enough code
code.Rmd
grp_code()
Use grp_code() to create the R/ code folder
in your projects:
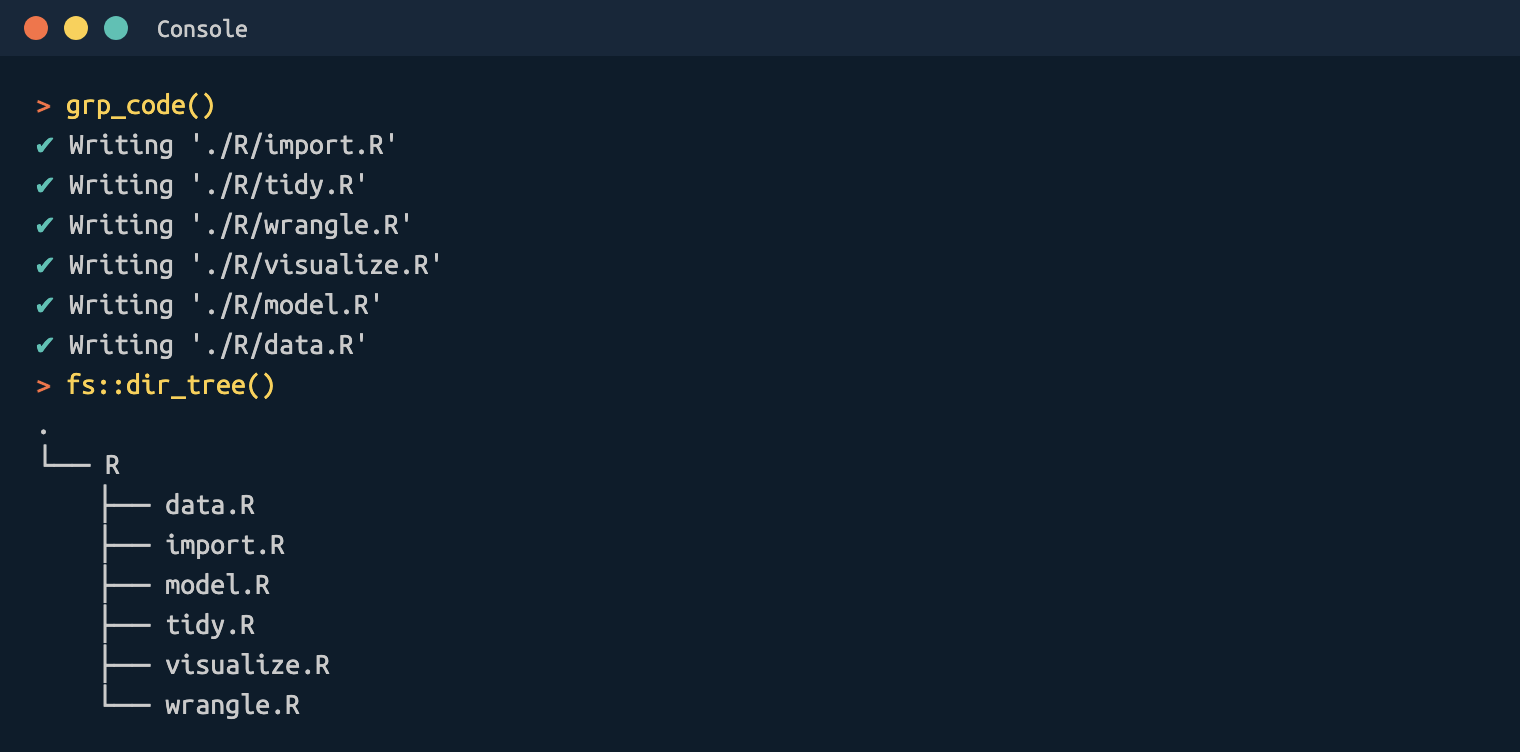
The grp_code() creates the following files:
You can choose to have regular R script headers or
roxygen2 headers:
roxygen = TRUE (default)
#' @title
#'
#'
#' @description
#'
#' @details
#'
#' @importFrom
#'
#' @examples
#'
#'
roxygen = FALSE
#=====================================================================#
# This is code to create:
# Authored by and feedback to:
# MIT License
# Version:
#=====================================================================#
R/data.R
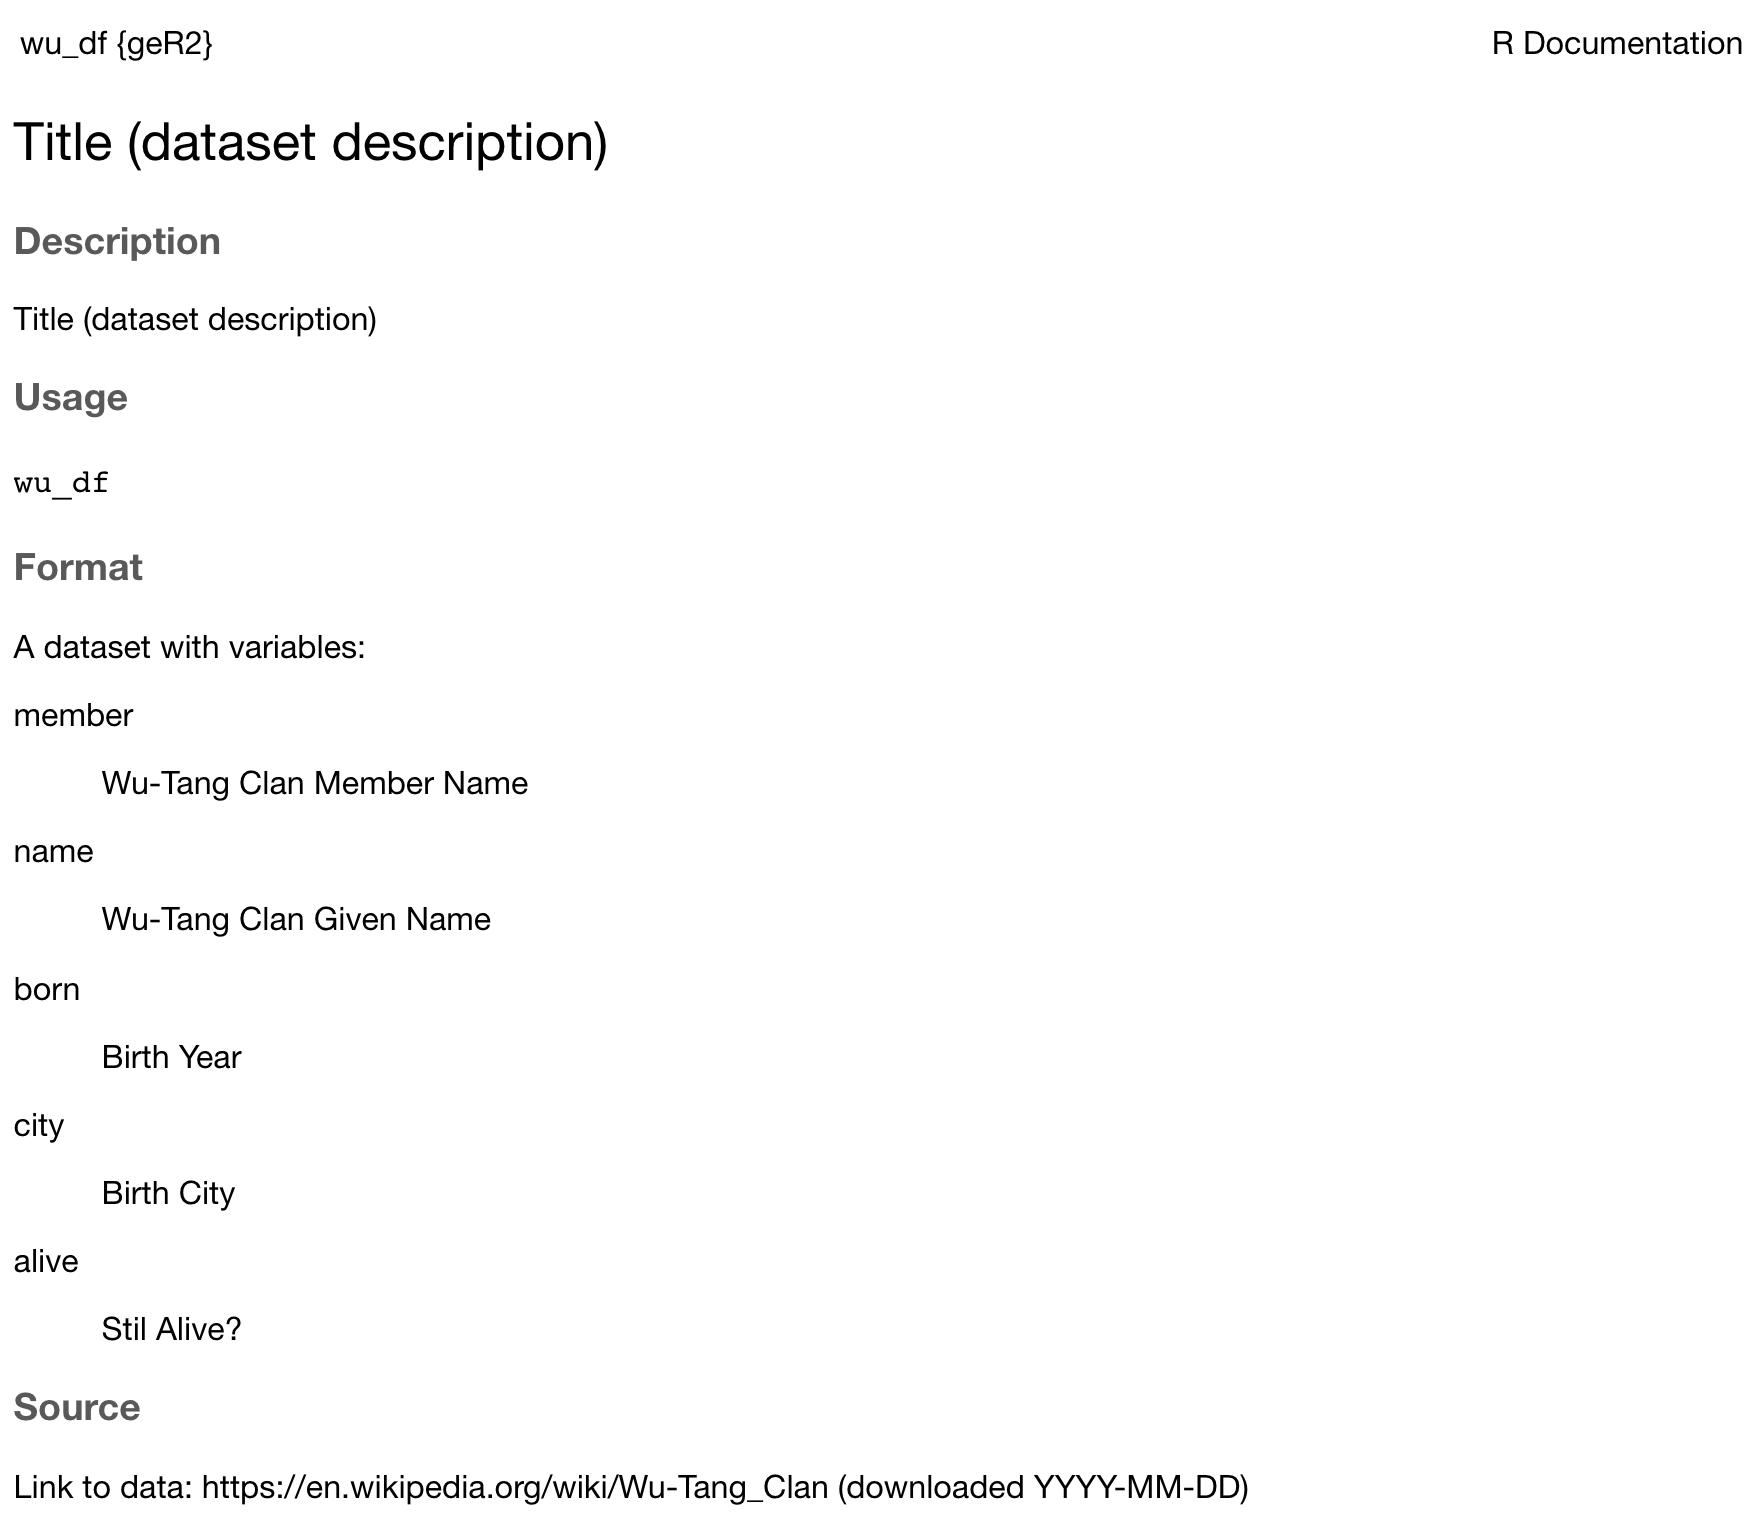
The R/data.R file should be used for documenting
datasets in your project. See example below:
#' Title (dataset description)
#'
#' @format A dataset with variables:
#' \describe{
#'   \item{member}{Wu-Tang Clan Member Name}
#'   \item{name}{Wu-Tang Clan Given Name}
#'   \item{born}{Birth Year}
#'   \item{city}{Birth City}
#'   \item{alive}{Stil Alive?}
#' }
#' @source Link to data: https://en.wikipedia.org/wiki/Wu-Tang_Clan
#' (downloaded YYYY-MM-DD)
'wu_df'
This will create the .Rd document so your dataset is
accessible in the Help pane.
Headers
Even if you’re not using roxygen2
tags, it’s a good idea to put a header on your code files. This
helps collaborators (and you!) track what the script does.
gerp::grp_headr()
#~~~~~~~~~~~~~~~~~~~~~~~~~~~~~~~~~~~~~~~~~~~~~~~~~~~~~~~~~~~~~~~~~~~~~#
# This is code to create:
# Authored by and feedback to:
# MIT License
# Version:
#~~~~~~~~~~~~~~~~~~~~~~~~~~~~~~~~~~~~~~~~~~~~~~~~~~~~~~~~~~~~~~~~~~~~~#
Sections
gerp::grp_sect() will create a code section based on a
name input. Use level to create nested
sections (# is level 1, ## is level 2,
etc.):
gerp::grp_sect(name = "import")
# import -----------------------------------------------------------------------
gerp::grp_sect(name = "read csv files", level = 2)
## read csv files --------------------------------------------------------------
These are handy if you use the document outline in RStudio or Positron.