13 Logging
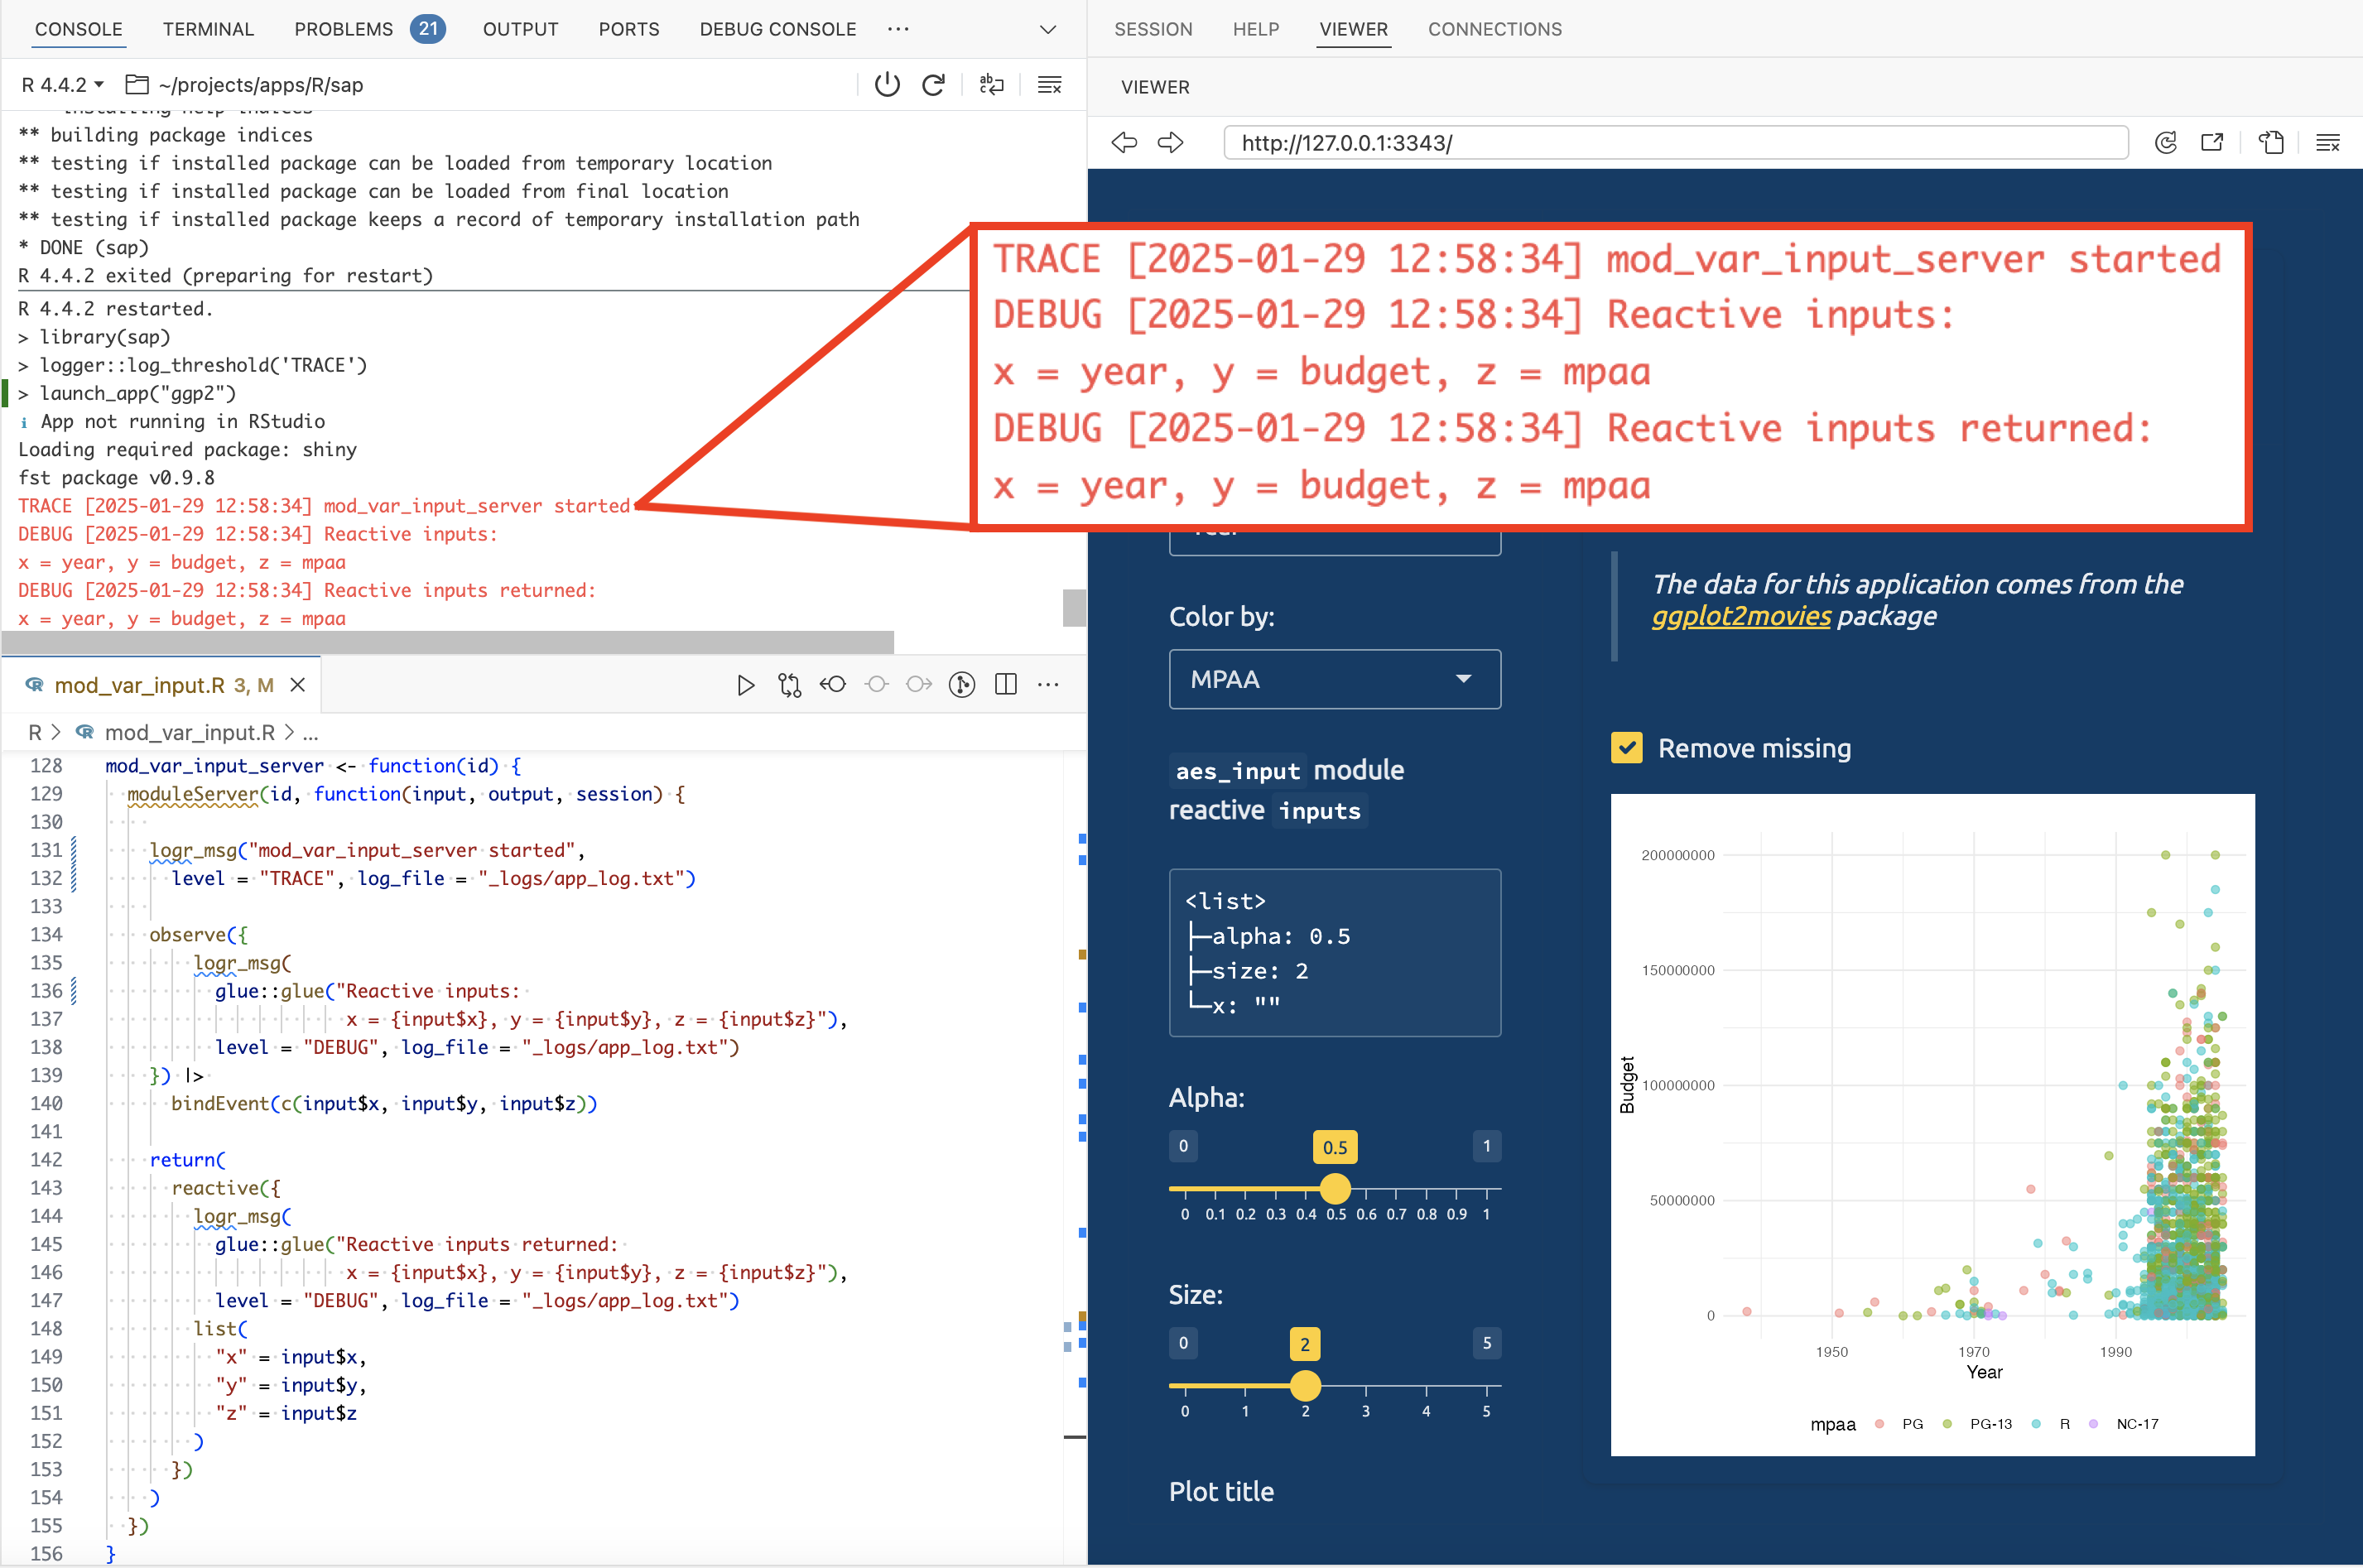
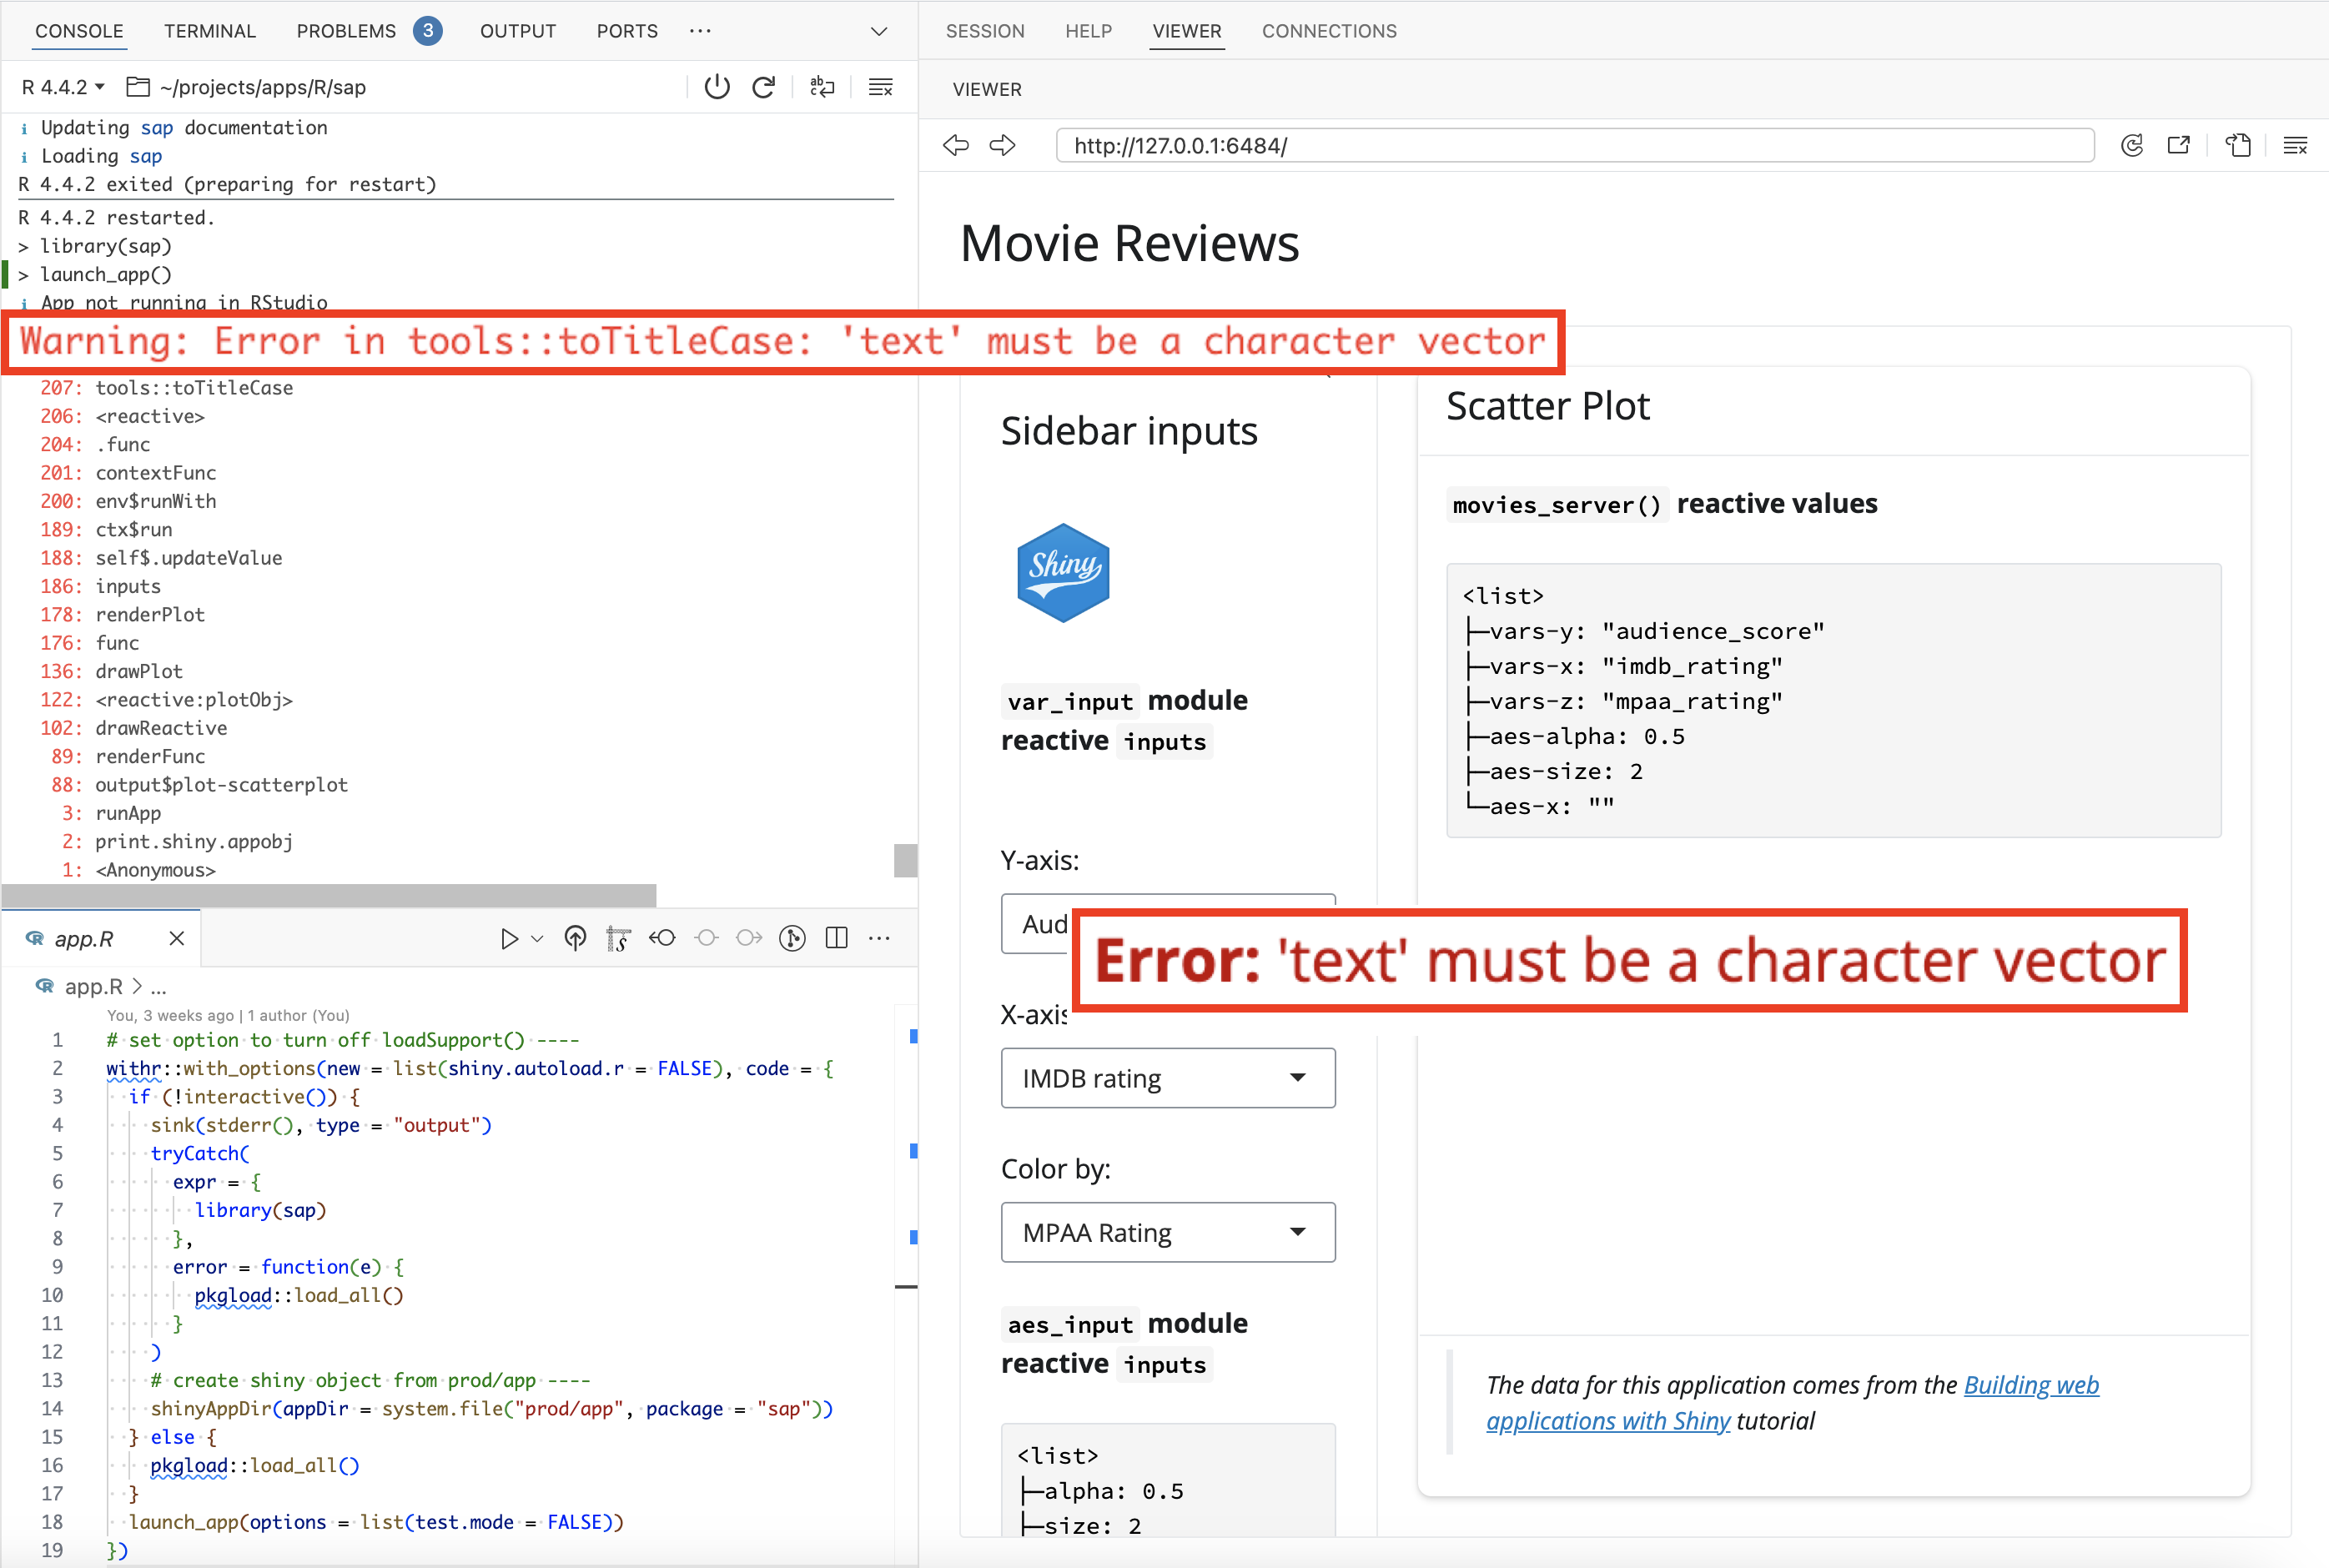
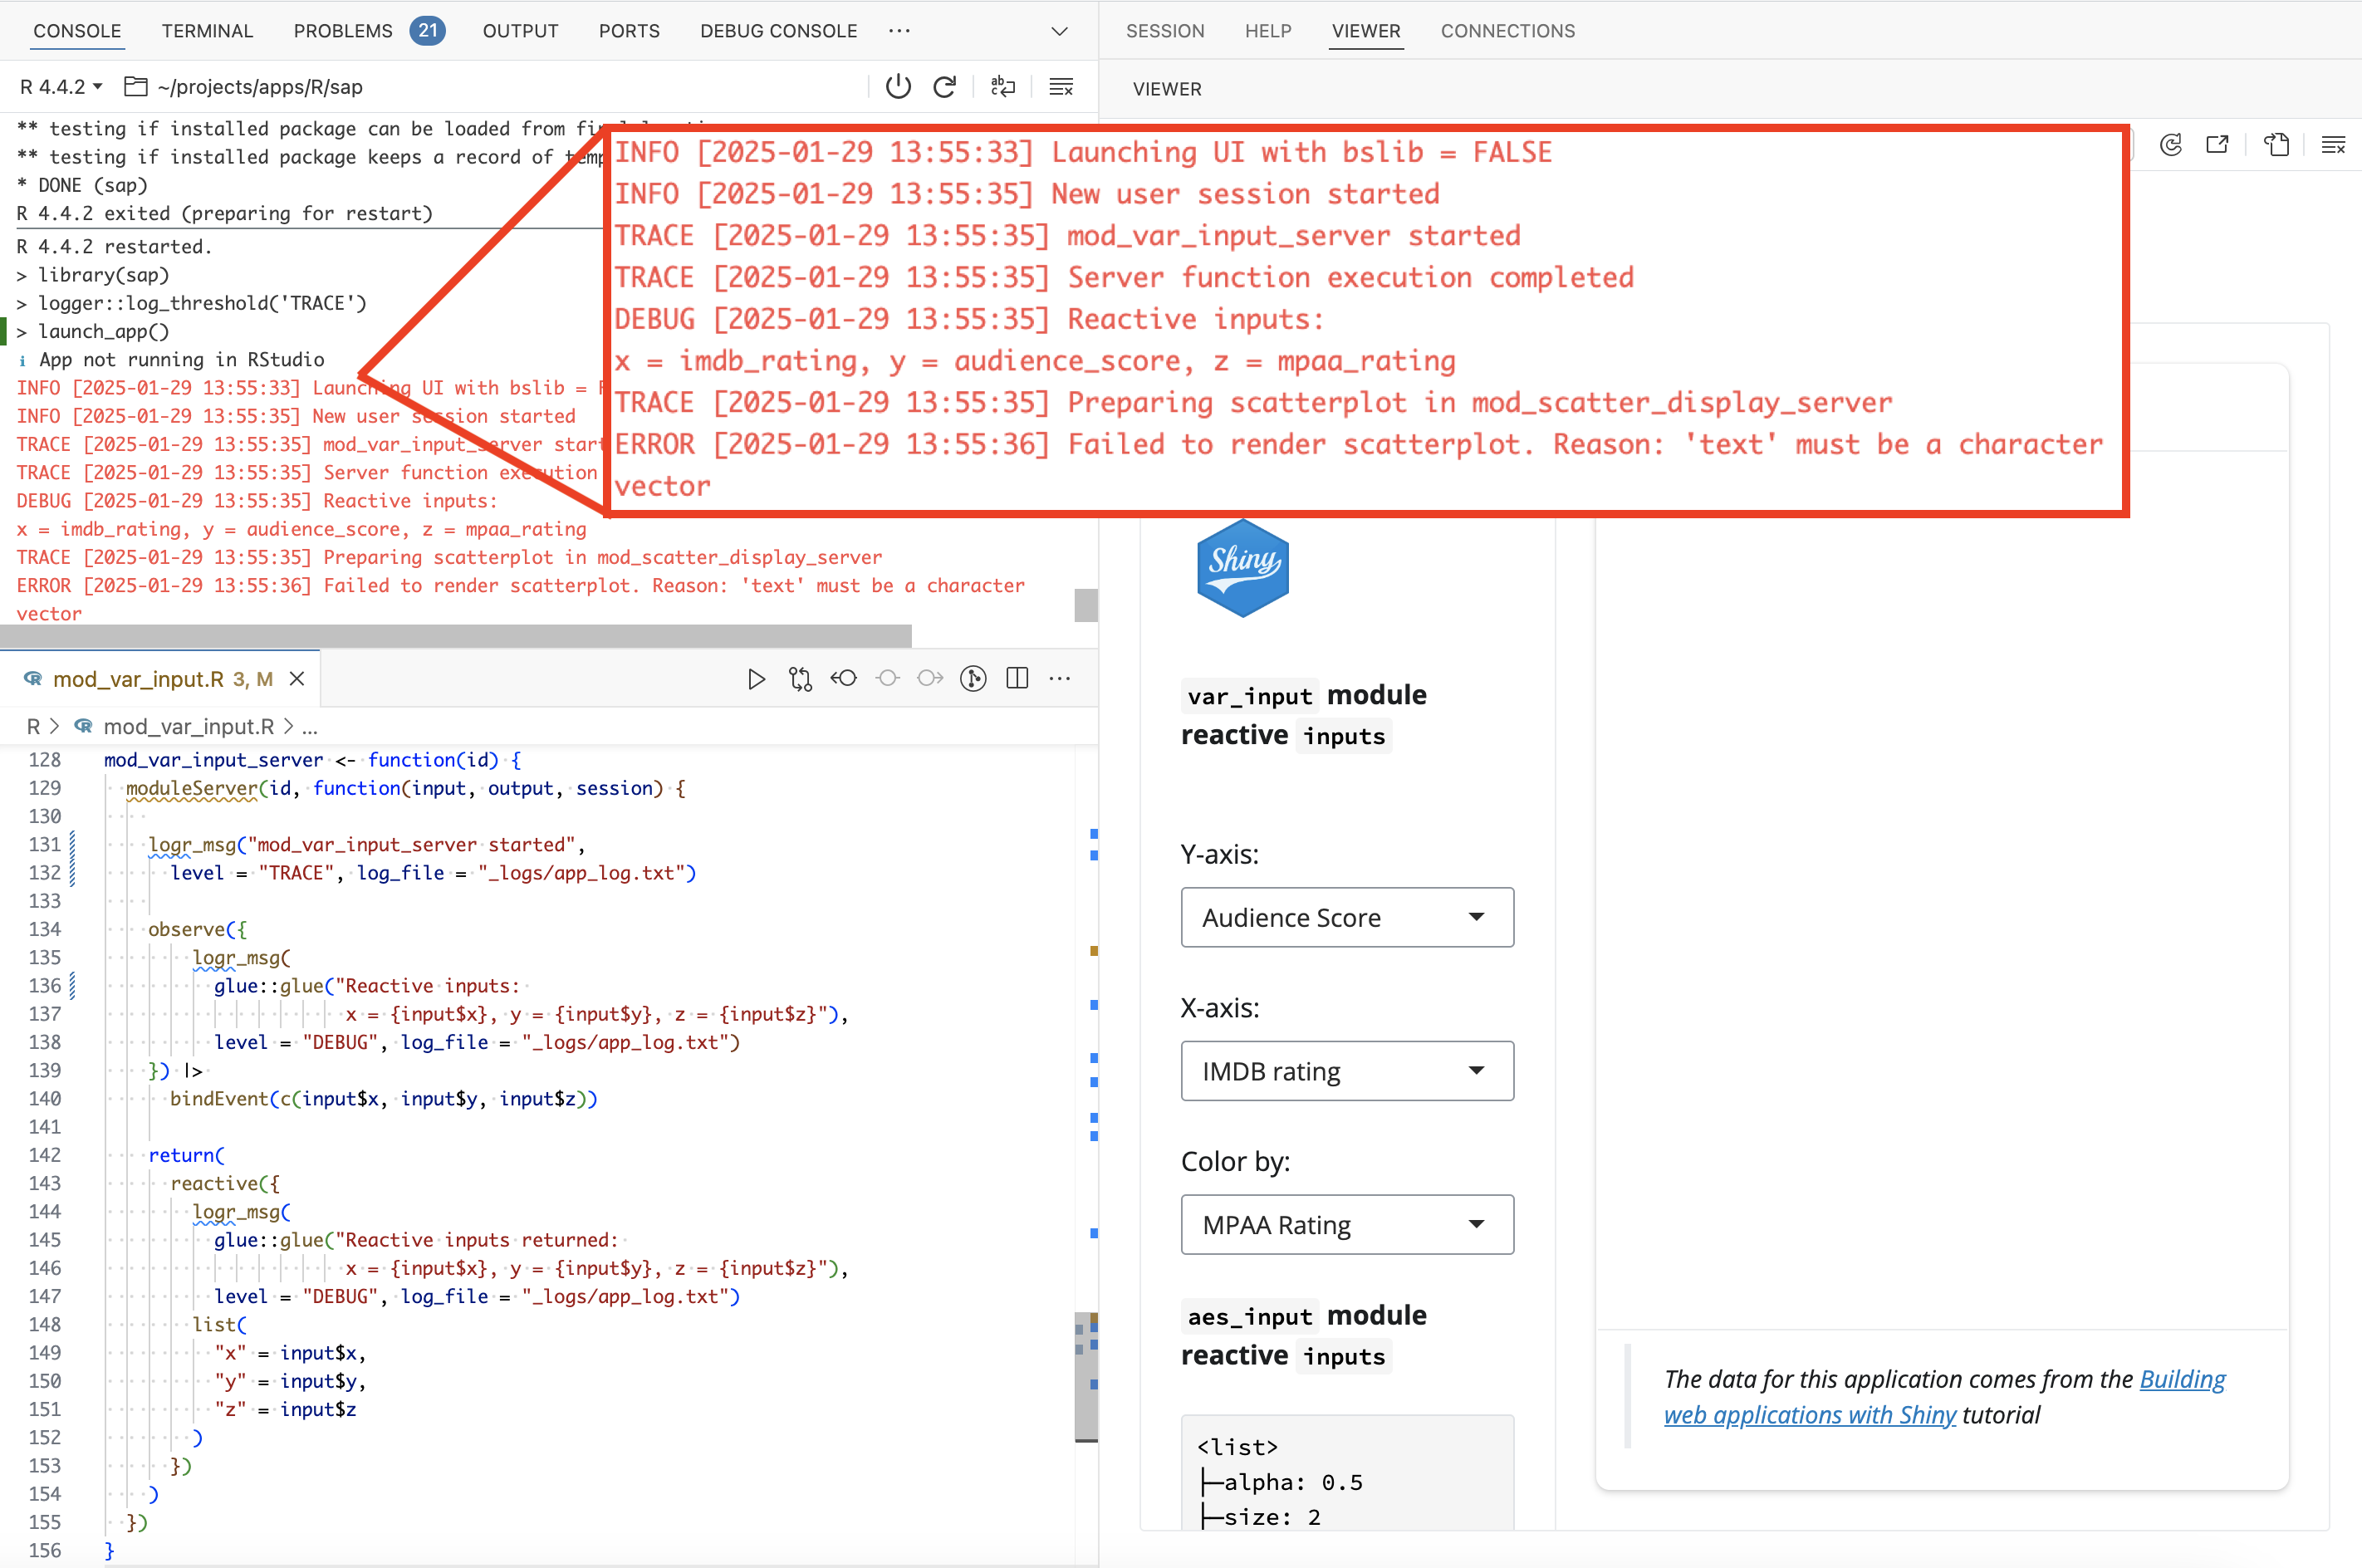
Building Shiny applications as part of an R package introduces powerful possibilities for creating reusable and maintainable web-based tools. However, debugging these applications can be challenging, especially when dealing with reactive programming, user interactions, and package-specific functionality. One effective approach to debugging Shiny applications is by implementing logging. This chapter provides a comprehensive guide on integrating logging into your Shiny application within an R package to make debugging and issue tracking more efficient.
13.1 Why Use Logging?
Logging provides a way to record diagnostic messages at runtime. Unlike print statements, logging is more structured, flexible, and configurable. It enables you to:
Track application flow and detect bottlenecks.
Record user interactions and inputs for analysis.
Identify runtime errors and unexpected behaviors.
Preserve logs for future analysis, even after the application has stopped running.
Logging is particularly useful in production environments, where direct debugging may not be possible.
13.2 Choosing a Logging Framework
The R ecosystem offers several libraries for logging. The most popular options are:
futile.logger
: A lightweight and flexible logging package.logger
: A modern, extensible, and user-friendly library.log4r
: Inspired by the Java log4j library, suitable for structured logging.
For this chapter, we’ll use the logger
package because of its simplicity, extensibility, and ease of integration with Shiny.
13.3 Setting Up Logging in an R Package
To integrate logging into your Shiny application within an R package, follow these steps:
13.3.1 Step 1: Install and Load the logger
Package
Add logger
to your package dependencies in the DESCRIPTION
file:
Imports:
logger
Then, include it in your package’s namespace file (NAMESPACE
):
import(logger)
13.3.2 Step 2: Initialize Logging
In your package, set up the logging configuration in the onLoad
function of the zzz.R
file:
<- function(libname, pkgname) {
.onLoad # Configure logger: Log messages to the console and a file
log_appender(appender_console)
log_appender(appender_file("shiny_app.log"))
log_threshold(INFO) # Set default log level to INFO
}
This setup ensures that logging is ready as soon as your package is loaded.
13.3.3 Step 3: Logging in Your Shiny Application
Integrate logging into the Shiny application by inserting log messages at critical points, such as:
Application startup
User interactions
Reactive expressions
Error handling
Here’s an example:
library(shiny)
library(logger)
# Shiny UI
<- fluidPage(
ui textInput("name", "Enter your name:"),
actionButton("submit", "Submit"),
textOutput("greeting")
)
# Shiny Server
<- function(input, output, session) {
server log_info("Shiny application has started.") # Log app startup
observeEvent(input$submit, {
<- input$name
user_name if (is.null(user_name) || user_name == "") {
log_warn("User attempted to submit an empty name.") # Log a warning
showNotification("Please enter your name.", type = "error")
else {
} log_info("User submitted name: {user_name}.") # Log user input
}
})
$greeting <- renderText({
output<- input$name
user_name if (!is.null(user_name) && user_name != "") {
log_debug("Rendering greeting for: {user_name}.") # Log debug information
paste("Hello,", user_name)
else {
} ""
}
}) }
13.3.4 Step 4: Log Error Handling
Use tryCatch
to log unexpected errors gracefully:
<- reactive({
safe_reactive tryCatch({
# Code that might throw an error
log_info("Running safe reactive expression.")
some_function_that_might_fail()
error = function(e) {
}, log_error("An error occurred: {e$message}")
NULL
}) })
13.3.5 Configuring Log Levels
The logger
package supports multiple log levels:
DEBUG
: Detailed messages, mainly for development.INFO
: General information about app operations.WARN
: Warnings about potential issues.ERROR
: Errors that need attention.
Adjust the log threshold dynamically to control verbosity:
log_threshold(DEBUG) # Verbose logging for development
log_threshold(WARN) # Only warnings and errors for production
13.4 Storing Log files
By default, logs are written to the console, but you can also direct them to files, databases, or external logging systems.
- File-Based Logging: Logs are saved to a file specified by
appender_file()
:
log_appender(appender_file("app_logs.txt"))
- Remote Logging: Integrate with external logging systems (e.g., ELK stack or Datadog) using custom appenders.
13.5 Logging and Debugging
Use logs during development to trace the flow of your application: 1. Run the app interactively and monitor console logs. 2. Use the logs to identify bottlenecks or unexpected behavior. 3. Write unit tests to check for logged messages using the testthat
package:
test_that("Logging works", {
expect_message(log_info("Test log message"), "Test log message")
})
13.6 Best Practices
Be Selective: Avoid logging sensitive user data.
Be Clear: Use descriptive messages for easier debugging.
Optimize for Production: Use lower verbosity levels in production.
Archive Logs: Periodically archive old logs to prevent storage issues.
13.7 Recap
Logging is an invaluable tool for debugging Shiny applications in an R package. By strategically placing log messages and configuring log levels, you can gain deep insights into your application’s behavior. The techniques discussed in this chapter will help you efficiently diagnose and resolve issues, making your Shiny applications more robust and reliable.