%%{init: {'theme': 'neutral', 'themeVariables': { 'fontFamily': 'monospace', "fontSize":"16px"}}}%%

flowchart TB
    subgraph AP["App-Package"]
        subgraph DockFile["<strong>Dockerfile</strong>"]
            Instructions[["<em>Stores instructions<br>for building image</em>"]]
        end
    end
        subgraph DockImg["<strong>Docker Image</strong>"]
            Image["Shiny app dependencies"]
        end

        subgraph DockCont["<strong>Docker Container</strong>"]
            R["Installs R version"]
            Pkg["Installs app-package"]
            ShinyDep["Runs Shiny server"]
        end

    DockFile -->|"<code>docker build</code> <em>creates instance of image</em>"| DockImg
    DockImg --> |"<code>docker run</code> <em>creates runtime instance of image</em>"|DockCont

    style DockFile fill:#FFFFFF,color:#000000,stroke:#333,stroke-width:1px,rx:10,ry:10
    style DockImg fill:#FFFFFF,color:#000000,stroke:#333,stroke-width:1px,rx:10,ry:10
    style DockCont fill:#FFFFFF,color:#000000,stroke:#333,stroke-width:1px,rx:10,ry:10
20 Docker
NoteTLDR 
To deploy a Shiny app-package using Docker, start by creating a Dockerfile, which serves as a set of instructions for building the container.
Use the
rocker/shinybase image, install necessary R packages, and copy the app-package into the container.Once the
Dockerfileis ready, build the image withdocker build, which packages everything into a reusable format.Finally, launch the container with
docker run, mapping a port so the app is accessible in the web browser.
This setup ensures the Shiny app is fully self-contained and easily deployable across different environments.
Docker ensures your Shiny applications are deployed with the necessary resources (dependencies, libraries, etc.) without significantly interfering with the host operating system or hardware.
With Docker, each Shiny application runs from an image in an isolated container, which ensures your app works consistently, regardless of where it’s deployed.1
20.1 What is Docker ?

Imagine a computer as a building and the operating system (OS) is like the big kitchen where everyone cooks. If someone’s (i.e., a software application) recipe calls for the oven to be at a specific temperature or requires a particular ingredient, this can interfere with what someone else (i.e., other applications) wants to make. This situation is somewhat analogous to the competition for resources all software applications have while running on a particular machine.
Docker images are like different recipes for running software applications, with each recipe requiring different ingredients (requirements, dependencies, libraries, etc.). Docker containers are similar to individual, self-contained mini-kitchens. The mini-kitchens operate independently (with their own appliances, ingredients, and utensils), regardless of what’s happening in the other mini-kitchens.2
20.1.1 How Docker works
The three important concepts to understand when deploying Shiny apps with Docker are Dockerfiles, images, and containers.
Dockerfile: The text file containing instructions on how to build the Docker image.Docker Image: A instantiated snapshot of the Shiny application and its dependencies, which is built based on the
Dockerfile.Docker Container: A runtime instance of the Docker image, isolated from the host system, ensuring consistent behavior across environments. When we instantiate an image, Docker creates a container from that image.3
Containers and images work together but they serve different purposes in the Docker ecosystem.
We can place a series of instructions inside a Dockerfile that define how to build a Docker image. The docker build command packages our application, its dependencies, and configurations into a portable image, which can then be used to create and run containers.
The image containing our applications’ dependencies is safely stored within the container, ensuring consistency across environments. The container also isolates the image (and the application) from the host system.
20.2 Installing Docker
Follow the instructions found on the Docker website to install Docker Desktop. I’ll be demonstrating how to use Docker on a macOS (but it’s available on most operating systems).
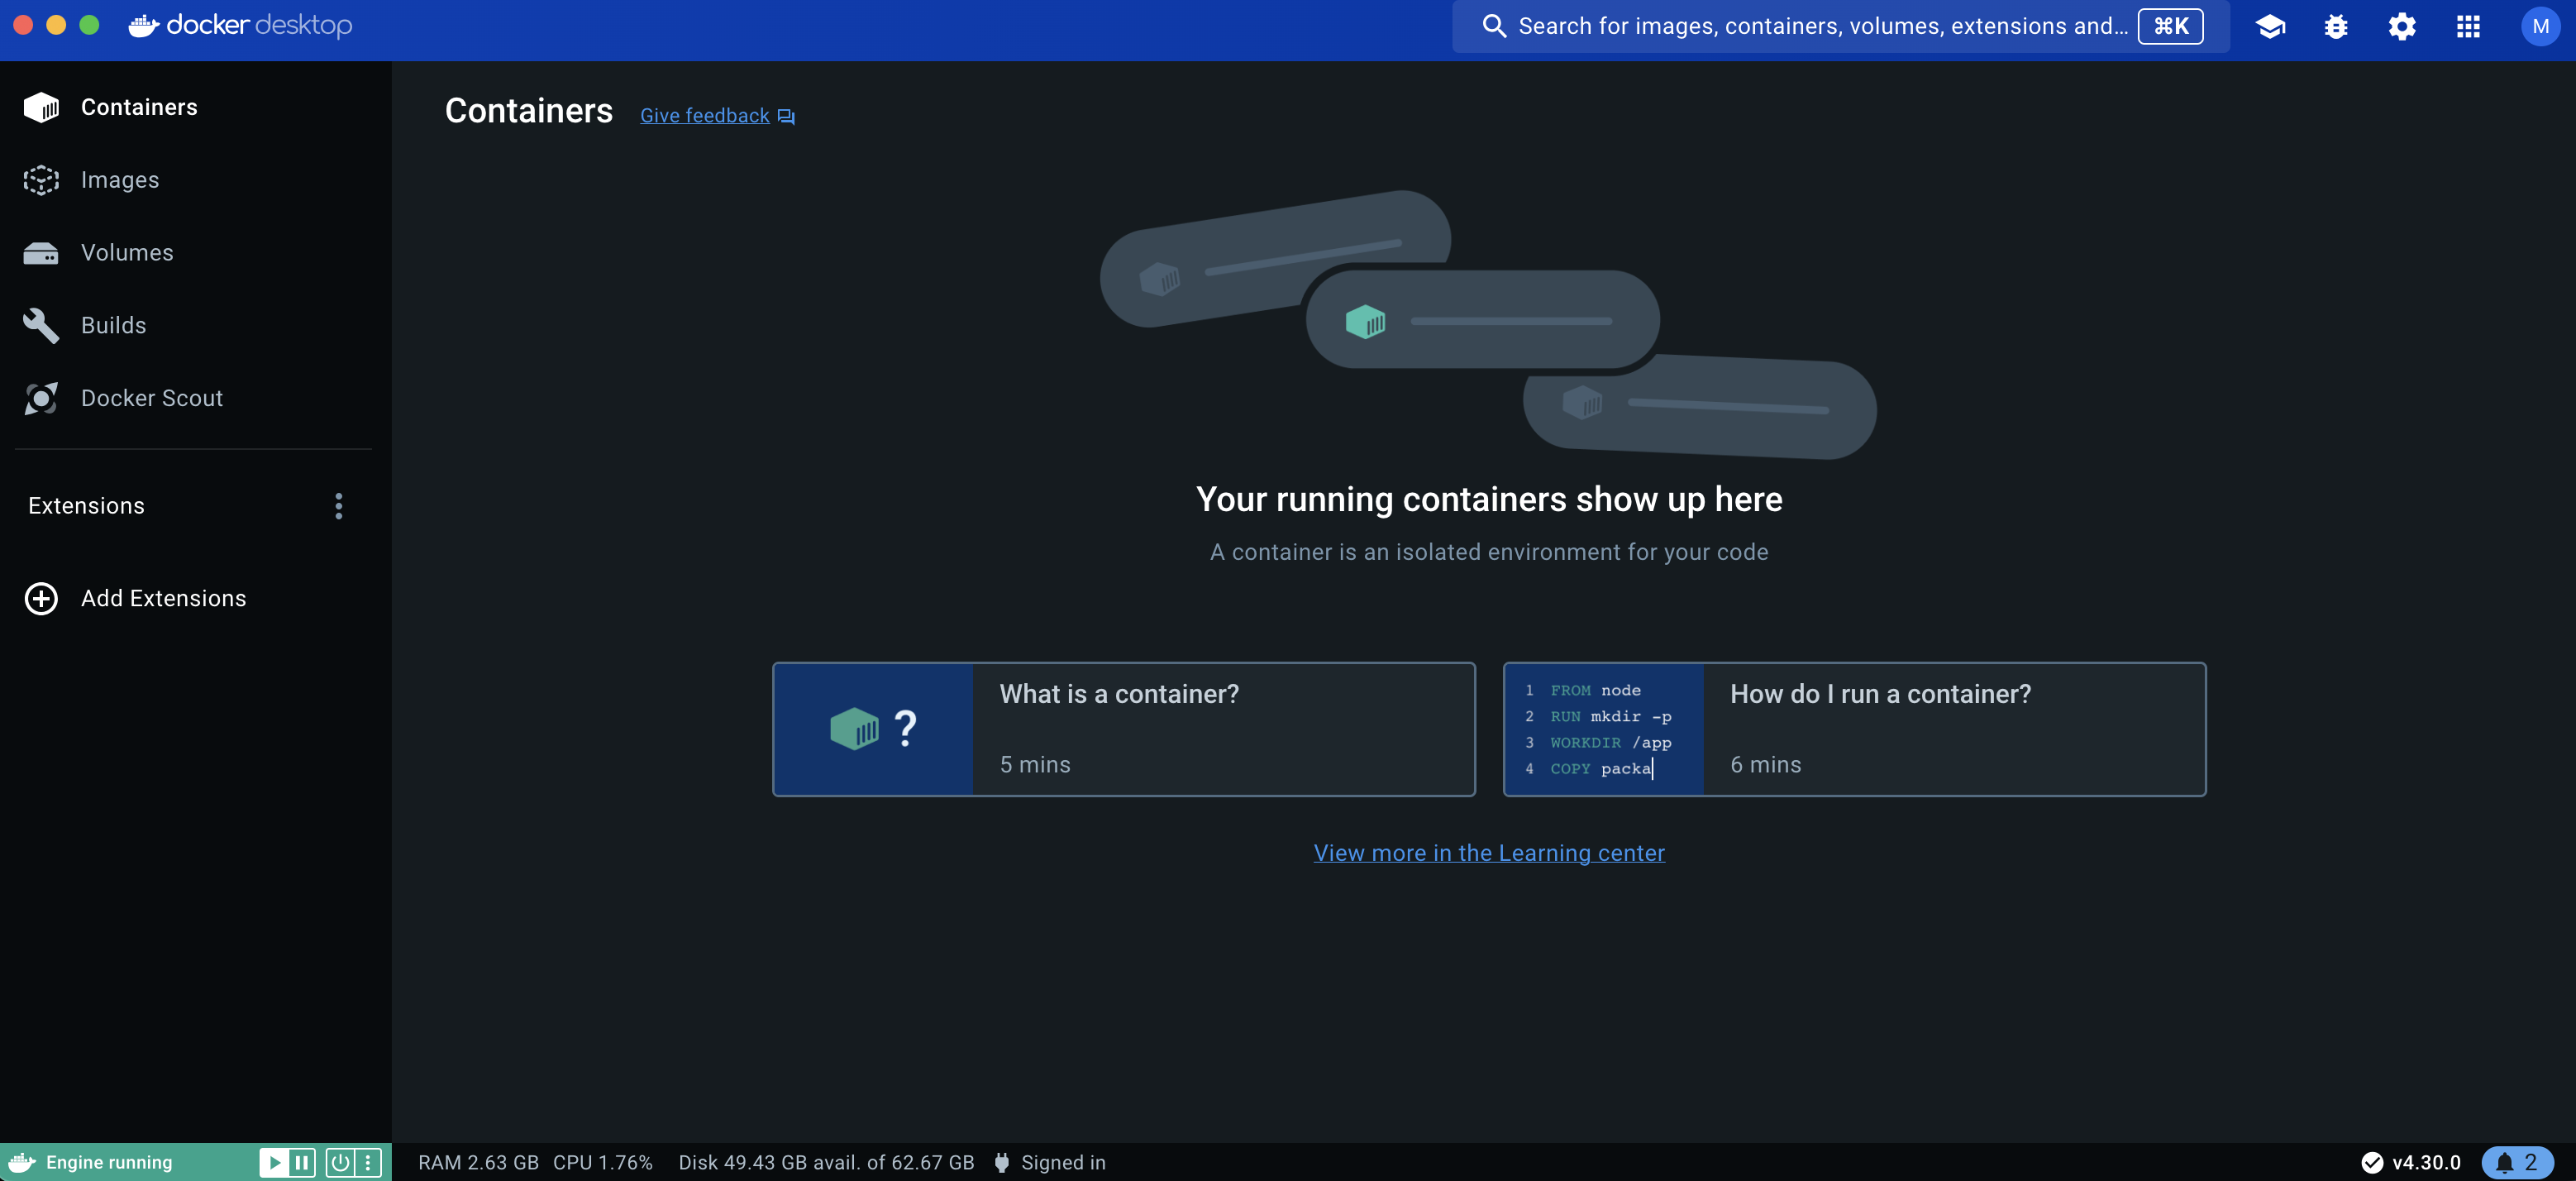
After installation, Docker Desktop will initially show no active images/containers:4
The development process for your Shiny app-package doesn’t change until you’re ready to deploy your application.
20.3 Writing a Dockerfile
We’ll be using the sap example from the previous chapter as an example (the folder/file structure is below):
Launch app with the shinypak package:
launch('20_docker')view app-package folder tree
├── DESCRIPTION
├── Dockerfile
├── NAMESPACE
├── R
│   ├── data.R
│   ├── display_type.R
│   ├── launch_app.R
│   ├── log_message.R
│   ├── logr_msg.R
│   ├── mod_aes_input.R
│   ├── mod_scatter_display.R
│   ├── mod_var_input.R
│   ├── movies_server.R
│   ├── movies_ui.R
│   ├── scatter_plot.R
│   ├── testthat.R
│   ├── text_logo.R
│   └── zzz.R
├── README.md
├── app.R
├── data
│   ├── movies.RData
│   └── movies.rda
├── data-raw
│   └── tidy_movies.R
├── inst
│   ├── extdata
│   │   └── movies.fst
│   ├── prod
│   │   └── app
│   │       └── app.R
│   ├── quarto
│   │   ├── _quarto.yml
│   │   ├── index.html
│   │   ├── index.qmd
│   │   └── www
│   │       ├── quarto.png
│   │       └── styles.scss
│   ├── tidy-movies
│   │   ├── R
│   │   │   ├── devServer.R
│   │   │   ├── devUI.R
│   │   │   ├── dev_mod_scatter.R
│   │   │   └── dev_mod_vars.R
│   │   ├── _logs
│   │   ├── app.R
│   │   ├── app_log.txt
│   │   ├── imdb.png
│   │   └── tidy_movies.fst
│   └── www
│       ├── bootstrap.png
│       └── shiny.png
├── man
│   ├── display_type.Rd
│   ├── launch_app.Rd
│   ├── log_message.Rd
│   ├── logr_msg.Rd
│   ├── mod_aes_input_server.Rd
│   ├── mod_aes_input_ui.Rd
│   ├── mod_scatter_display_server.Rd
│   ├── mod_scatter_display_ui.Rd
│   ├── mod_var_input_server.Rd
│   ├── mod_var_input_ui.Rd
│   ├── movies.Rd
│   ├── movies_server.Rd
│   ├── movies_ui.Rd
│   ├── scatter_plot.Rd
│   ├── test_logger.Rd
│   └── text_logo.Rd
├── sap.Rproj
├── tests
│   ├── testthat
│   │   ├── fixtures
│   │   │   ├── make-tidy_ggp2_movies.R
│   │   │   └── tidy_ggp2_movies.rds
│   │   ├── helper.R
│   │   ├── setup-shinytest2.R
│   │   ├── test-mod_scatter_display_server.R
│   │   ├── test-mod_var_input_server.R
│   │   ├── test-scatter_plot.R
│   │   ├── test-shinytest2-export.R
│   │   ├── test-shinytest2-prod.R
│   │   ├── test-shinytest2.R
│   │   └── test-text_logo.R
│   └── testthat.R
└── vignettes
    └── specs.Rmd

19 directories, 69 files
When our application is ready to deploy, we’ll create a Dockerfile, which is a plain-text file (no extension). Dockerfiles are a blend of commands, numeric values, and character strings with the following general conventions:
Each line in the
Dockerfilestarts with an instruction. These aren’t case-sensitive, but it’s common practice to capitalize each command. Each instruction in theDockerfilegenerates a new layer in the image (the layered filesystem and caching is part of what makes Docker efficient).Comments or explanatory notes begin with
#. These will be ignored by the Docker engine.
Below are two lines from the Dockerfile found in the excellent post titled, R Shiny Docker: How To Run Shiny Apps in a Docker Container. This is a great place to familiarize yourself with deploying a non-package Shiny application with Docker.5
# build image
FROM rocker/shiny

# create location for app
RUN mkdir /home/shiny-app
As you can see, the Dockerfile combines instructions (FROM, RUN) with command-line arguments (mkdir). You don’t have to be a command-line expert to write a Dockerfile (but knowing a few can get you out of a jam 6).
20.3.1 Create image
Docker files start by building an image. In our case, we want an image configured to run R, which has been provided for us by the generous folks at the rocker project.
The Shiny rocker image is for Shiny apps:
FROM rocker/shiny20.3.2 Install dependencies
Use RUN and R -e to install dependencies for our app in the container from CRAN.7
RUN R -e 'install.packages(c("rlang", "stringr", "shiny", "ggplot2", "remotes"))'20.3.3 Create location for app
RUN mkdircreates a new/deploydirectory in the containerADD . /deploycopies the files from the current directory (on the host machine) into the/deploydirectory inside the containerWORKDIR /deploysets the/deploydirectory as the working directory for any subsequent instructions.
RUN mkdir /deploy
ADD . /deploy
WORKDIR /deploy
20.3.4 Install app-package
remotes::install_local() will the R package specified in the local directory (where our Shiny app-package lives), without upgrading dependencies.
RUN R -e 'remotes::install_local(upgrade="never")'20.3.5 Clean up
RUN rm -rf /deploy cleans up and reduces the size of the container.
RUN rm -rf /deploy20.3.6 Expose port
Make our Shiny app available on EXPOSE 8180.
EXPOSE 818020.3.7 Launch app
When the container starts, set Shiny to listen on port 8180, then launch the Shiny app from our sap package. The port we exposed in the Dockerfile should match the shiny.port option.
CMD R -e "options('shiny.port'=8180,shiny.host='0.0.0.0');library(sap);sap::launch_app()"20.4 Build the Docker image
The final Dockerfile we’ll use to launch our application is below:
FROM rocker/shiny
RUN R -e 'install.packages(c("rlang", "stringr", "shiny", "ggplot2", "remotes"))'
RUN mkdir /deploy
ADD . /deploy
WORKDIR /deploy
RUN R -e 'remotes::install_local(upgrade="never")'
RUN rm -rf /deploy
EXPOSE 8180
CMD R -e "options('shiny.port'=8180,shiny.host='0.0.0.0');library(sap);sap::launch_app()"
To build the Docker image and create a new container, run the docker build command in the Terminal with a tag (-t), a name for the image (movies-app-docker-demo), and the location (.):
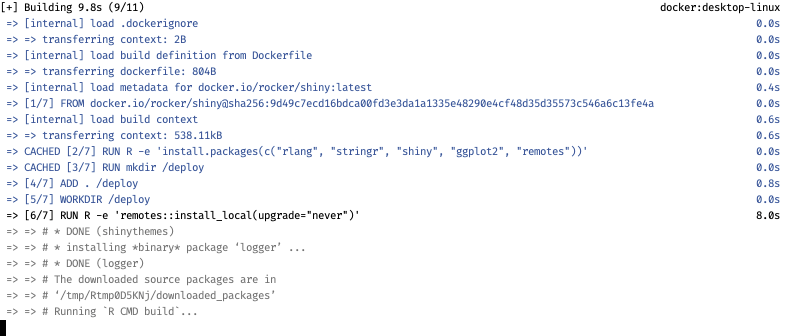
docker build -t movies-app-docker-demo .As the docker image builds you’ll see the output in the Terminal:
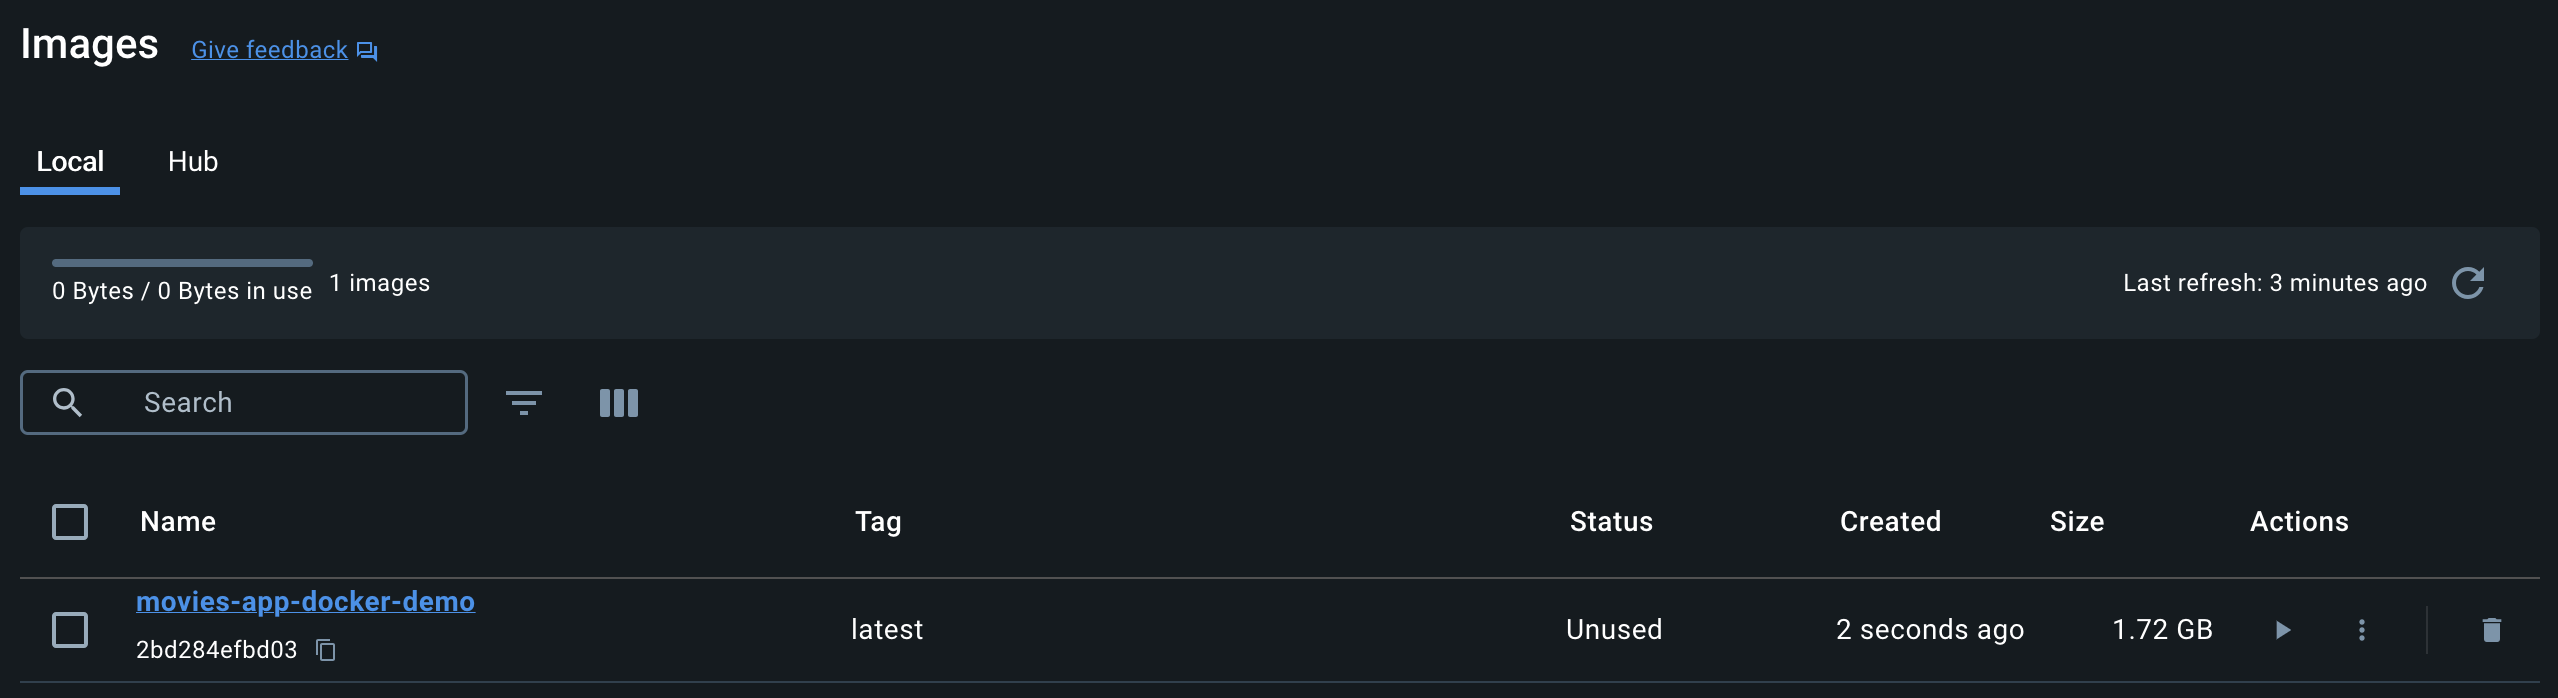
After the image is built, we’ll see a new image listed in Docker desktop:
Each Docker image consists of layers, which we can see if we click on the image in Docker Desktop:
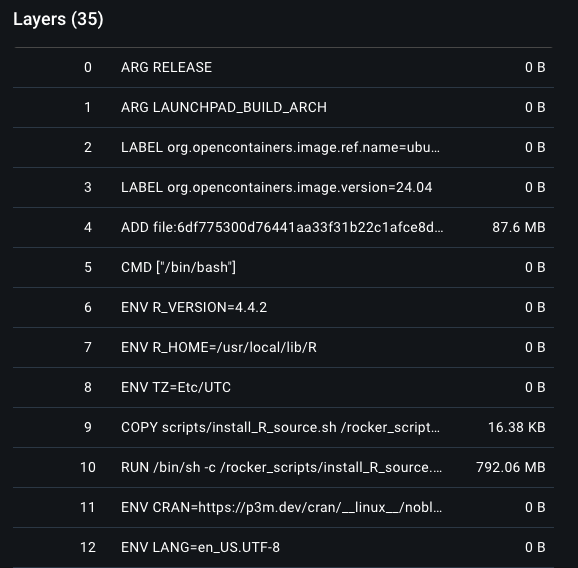
These layers give us some insight into what the image contains. We can see the R version is specified and other scripts are copied from the rocker/shiny image.
20.5 Running the container
After building the image, we can run the new container using docker run
docker run -p 8180:8180 movies-app-docker-demoIn the Terminal, we’ll see an R session initialize, and the R function calls from the last line of our Dockerfile:
R version 4.4.2 (2024-10-31) -- "Pile of Leaves"
Copyright (C) 2024 The R Foundation for Statistical Computing
Platform: x86_64-pc-linux-gnu
R is free software and comes with ABSOLUTELY NO WARRANTY.
You are welcome to redistribute it under certain conditions.
Type 'license()' or 'licence()' for distribution details.
Natural language support but running in an English locale
R is a collaborative project with many contributors.
Type 'contributors()' for more information and
'citation()' on how to cite R or R packages in publications.
Type 'demo()' for some demos, 'help()' for on-line help, or
'help.start()' for an HTML browser interface to help.
Type 'q()' to quit R.
> options('shiny.port'=8180,shiny.host='0.0.0.0');library(sap);sap::launch_app()
INFO [2025-02-25 17:28:17] Launching app: movies
INFO [2025-02-25 17:28:17] Launching UI with bslib = FALSE
Loading required package: shiny
Listening on http://0.0.0.0:8180- 1
-
Final line in our
Dockerfile
- 2
-
Log comments from our app code
- 3
-
Port we specified in
docker run
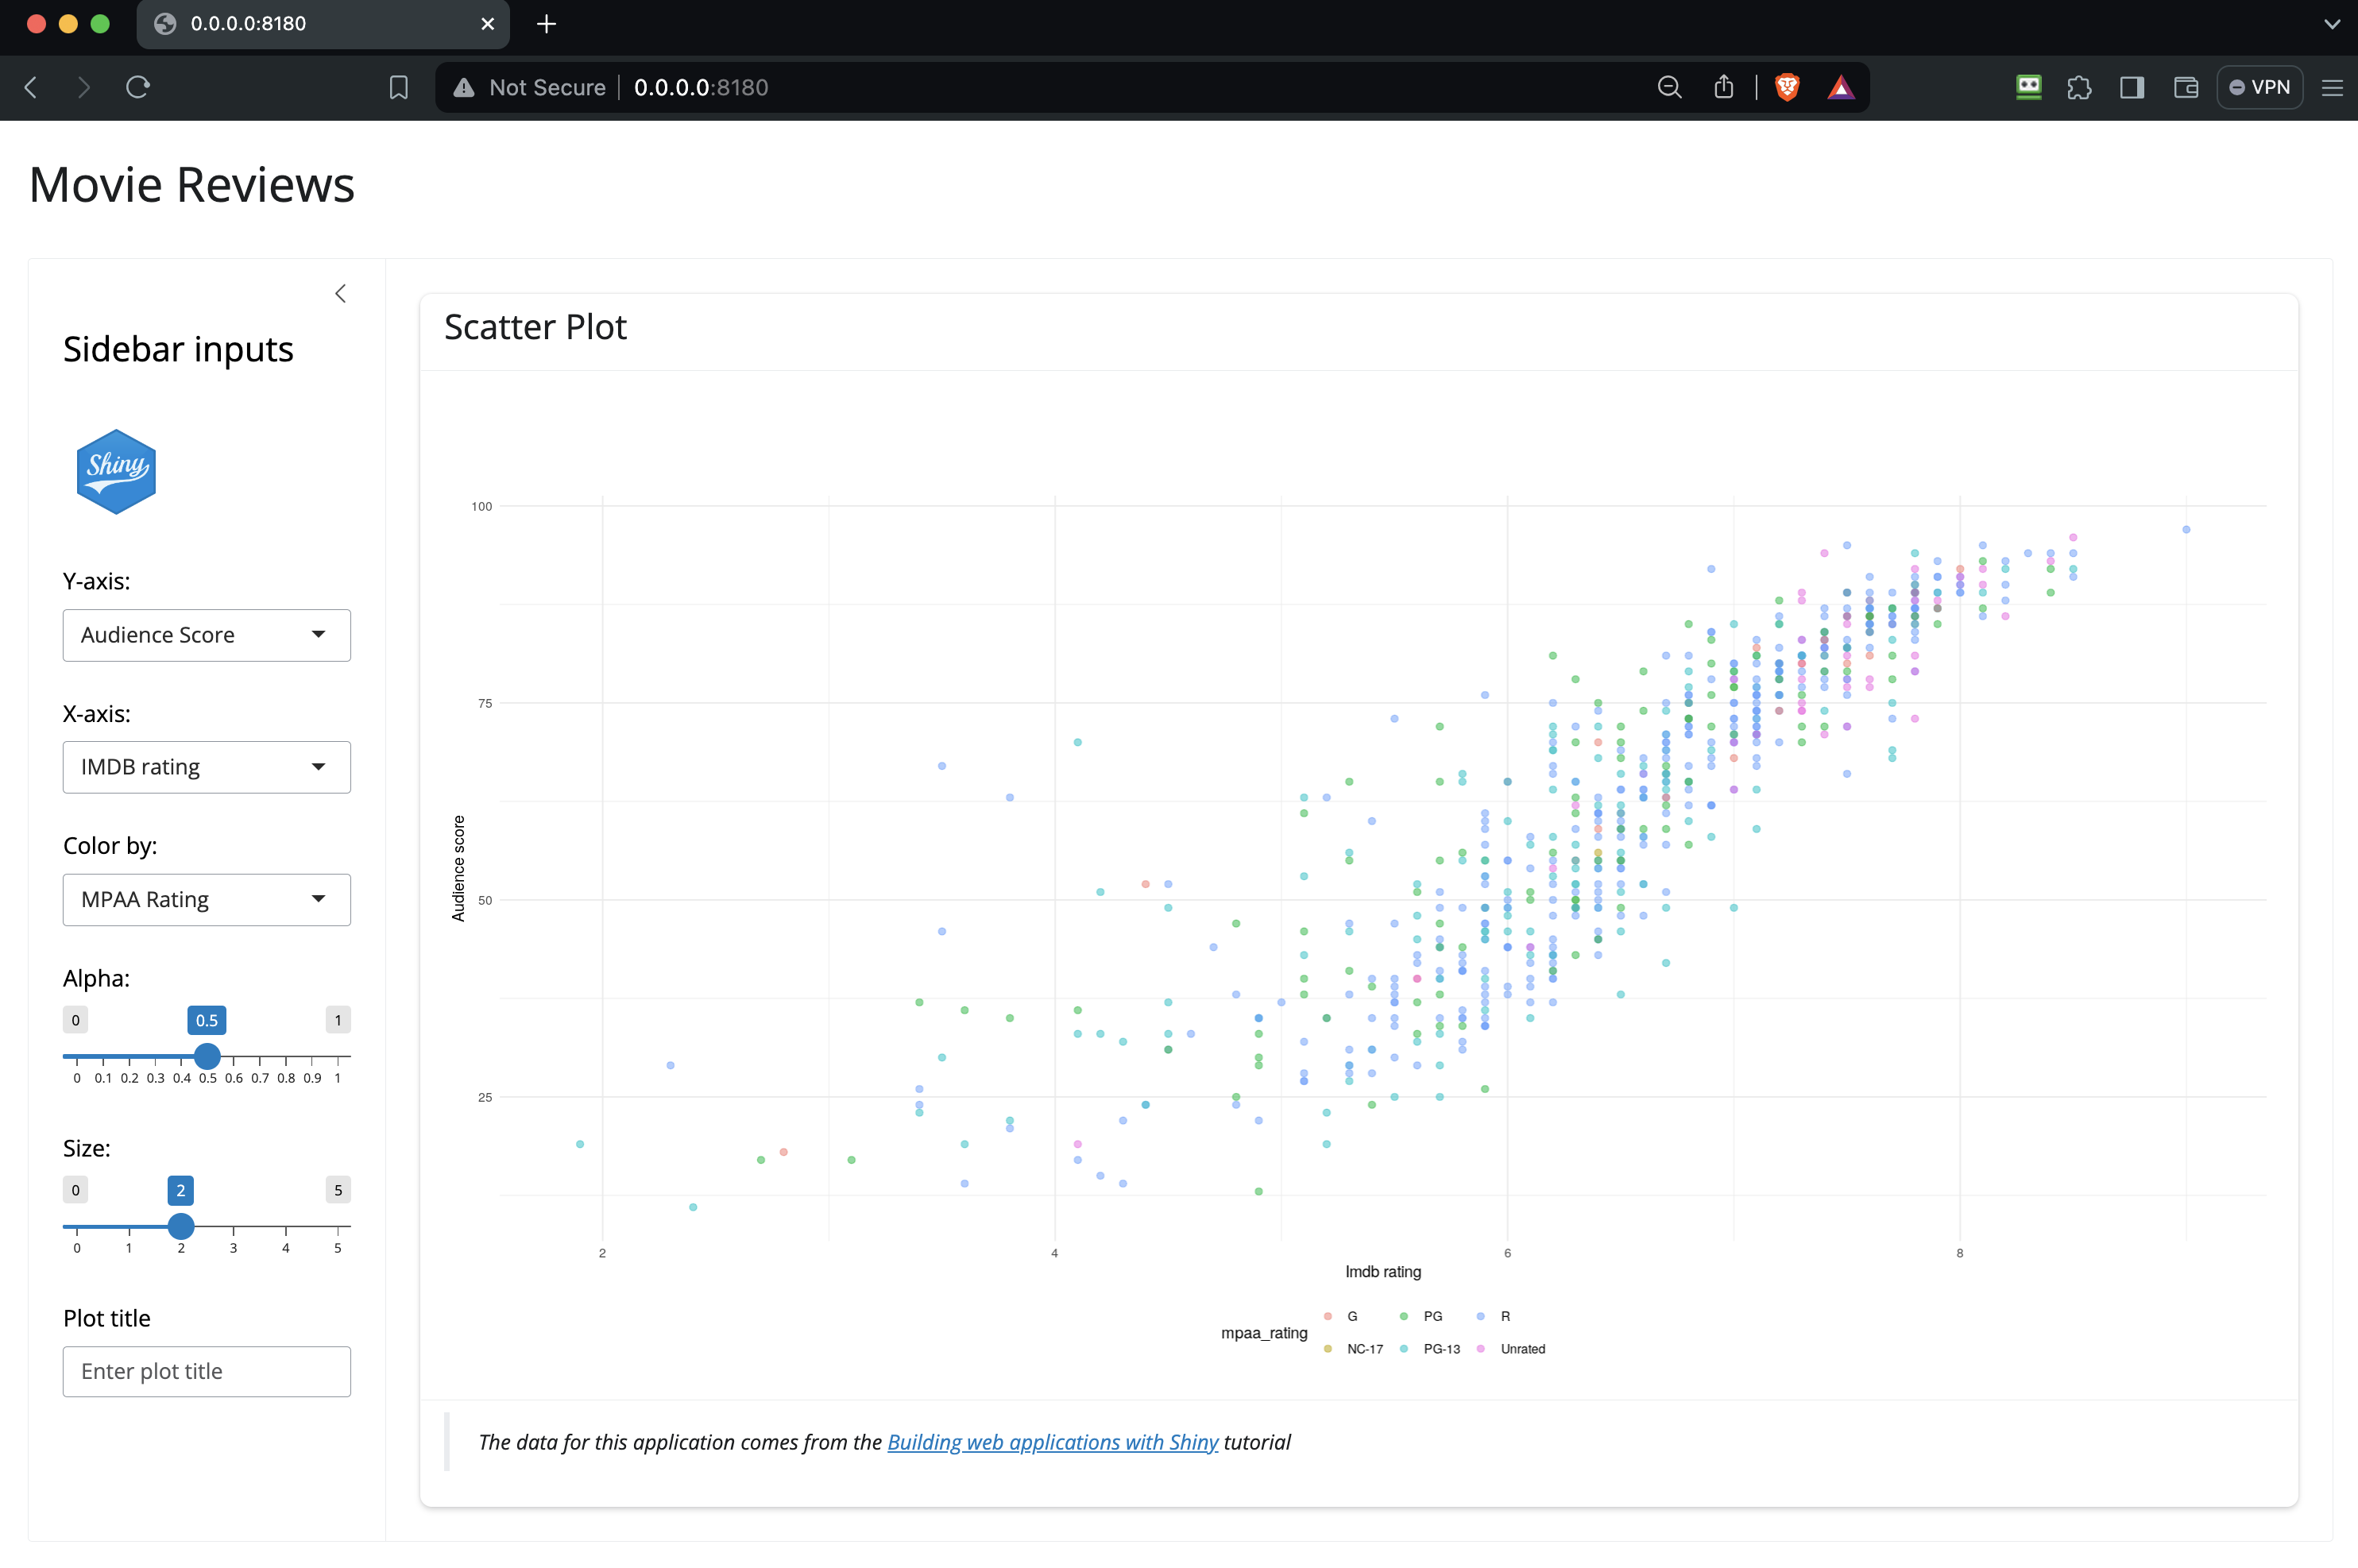
Copy the hyperlink above and place it in the browser to view the application:
New Docker containers are named using a random combination of adjectives and famous scientists’ surnames (unless the --name flag is added).
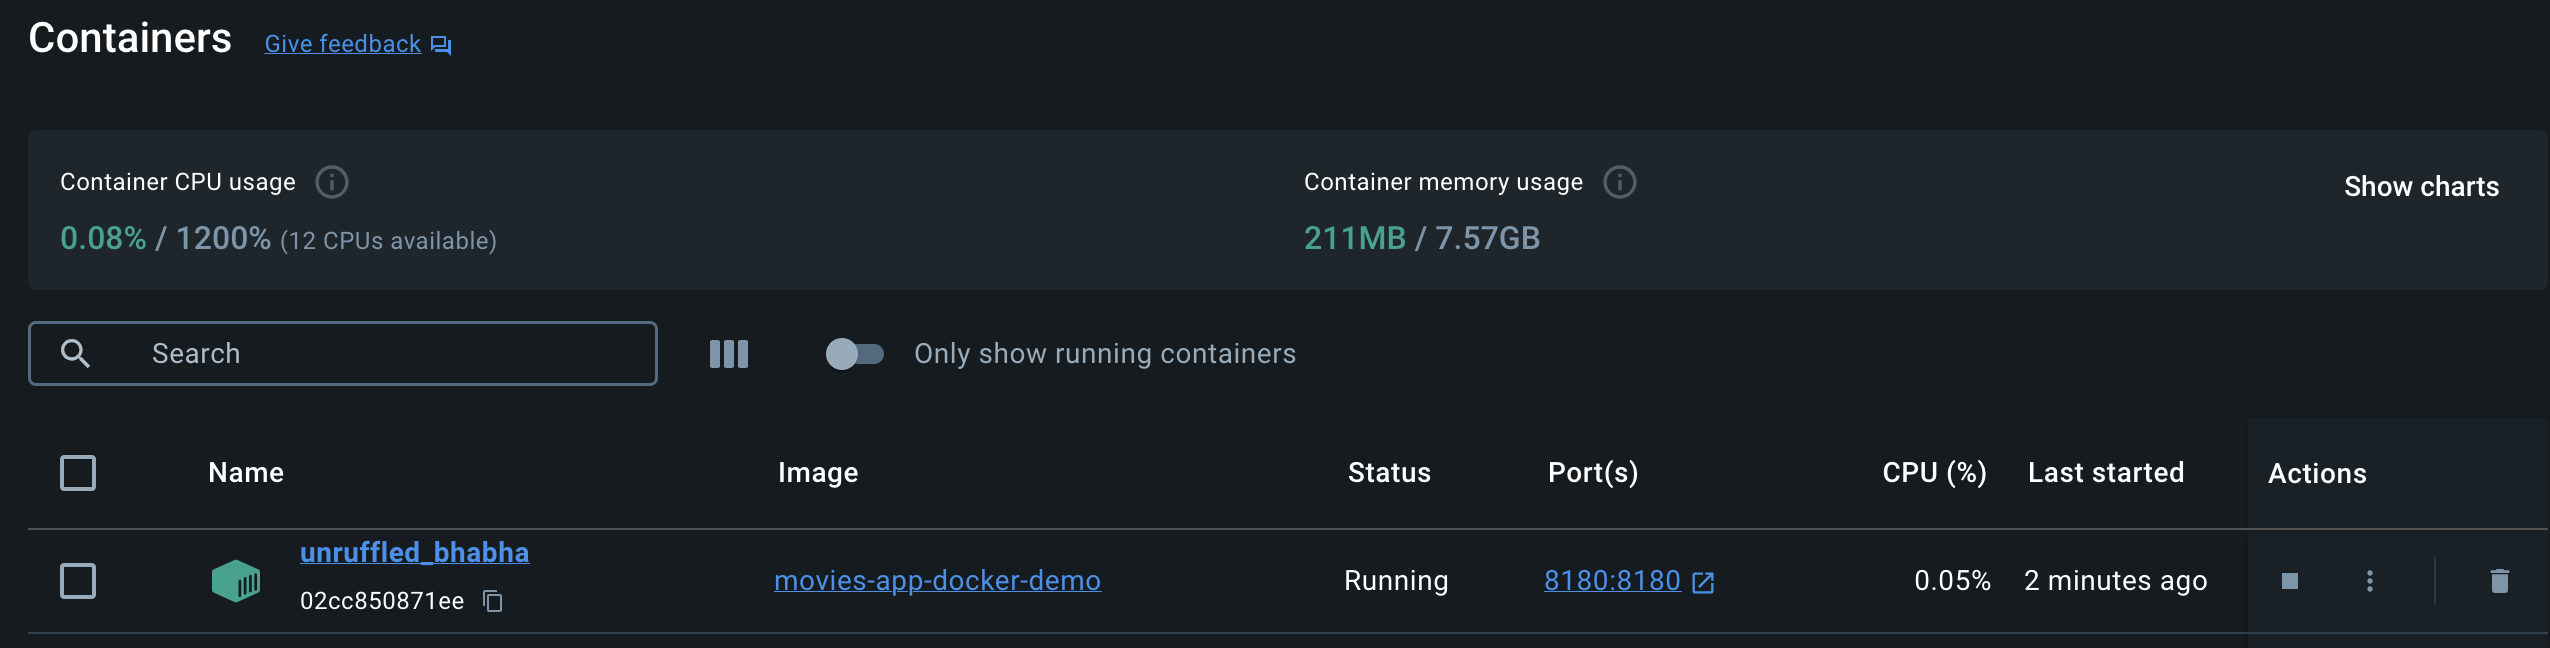
You can change the name of a Docker image by stopping the container and passing docker rename <old_name> <new_name> to the Terminal:
docker rename unruffled_bhabha launch_appEach Docker container is created from the image (which is specified in the Dockerfile). The image serves as a blueprint for the containers, and we could create multiple containers from the same image:

20.6 Docker & golem
The golem package has multiple functions for building Docker files and images. There are a few notable points to make about some of the Docker images created with golem:
golem’s Docker functions can produce multiple Docker files (golem::add_dockerfile_with_renv()creates atmp/deployfolder and adds the following files)View deploy/ folder
deploy/ ├── Dockerfile ├── Dockerfile_base ├── README ├── gap_0.0.0.9000.tar.gz └── renv.lock.prodgolem’s Docker files typically use the R build fromrocker(and include a version):View R version build
FROM rocker/verse:4.3.2golemDocker files might also include additional commands for installing/updating command-line (linux) tools for downloading/exchanging data:View apt-get commands
RUN apt-get update && apt-get install -y libcurl4-openssl-dev libicu-dev libssl-dev libxml2-dev make pandoc zlib1g-devThey also usually the
remotespackage to specify theversionof each package and whether toupgrade(or not):View remotes::install_version()
RUN R -e 'install.packages("remotes")'
RUN Rscript -e 'remotes::install_version("rlang",upgrade="never",version="1.1.2")'
RUN Rscript -e 'remotes::install_version("stringr",upgrade="never",version="1.5.1")'
RUN Rscript -e 'remotes::install_version("shiny",upgrade="never",version ="1.8.0")'
RUN Rscript -e 'remotes::install_version("ggplot2",upgrade="never",version="3.4.4")'
There are additional differences, but these are important if you want to include additional requirements or control the version of R (or a package dependency). golem’s Docker images are more (you guessed it) opinionated, but every time I’ve used one it works right “out of the box.”
20.7 Docker in app-packages
You can include a Dockerfile in an app-package by adding it to the .Rbuildignore file.8
^.*\.Rproj$
^\.Rproj\.user$
^sap\.Rcheck$
^sap.*\.tar\.gz$
^sap.*\.tgz$
^Dockerfile$
This will ensure it won’t interfere with your app-package builds. Docker also has it’s own ignore file (.dockerignore), which can include similar contents to the .gitignore:
.RData
.Rhistory
.git
.gitignore
manifest.json
rsconnect/
.Rproj.user
Note that if you include a .dockerignore file, you should also include this pattern in the .Rbuildignore:
^.*\.Rproj$
^\.Rproj\.user$
^sap\.Rcheck$
^sap.*\.tar\.gz$
^sap.*\.tgz$
^Dockerfile$
^\.dockerignore$
Recap
This has been a brief overview of using Docker to deploy your Shiny App-Package.
TipRecap:
Docker files are used to build images, which defines an environment for the Shiny application to run. The container is the actual running instance of that environment.
Docker images are immutable, meaning they do not change. Once an image is created, it remains unchanged inside a container.
Docker containers can be started, stopped, moved, and deleted, but each time a container is run, it’s created from an image.
Docker is covered again in the golem chapter and on the Shiny frameworks supplemental website. If you’d like to learn more, Appsilon has a great introduction to Docker (mentioned above).9 I also found the Dockerizing shiny applications post helpful. 10
Read more about Docker in the official documentation.↩︎
Docker containers are similar to virtual machine environments (like VMware), but don’t use a significant portion of the hardware system’s resources.↩︎
A Docker image can exist without a container, but all containers must be instantiated from an image.↩︎
If you follow the Docker ‘Walkthroughs’ in the Learning Center, you might see the
welcome-to-dockercontainer listed.↩︎I’ve altered the comments of the original
Dockerfile, so be sure to read the entire blog post before copying + pasting this into your workflow.↩︎I love the help files on https://linuxize.com/, and this tutorial is a nice introduction to the command-line.↩︎
We’ll need remotes to install our app-package locally (i.e., with
remotes::install_local(upgrade="never")).↩︎.Rbuildignoreincludes files that we need to have in our app-package, but don’t conform to the standard R package structure (and shouldn’t be included when building our app-package from the source files).↩︎Appsilon has a few posts on Docker: ‘R Shiny Docker: How To Run Shiny Apps in a Docker Container’ and ‘Renv with Docker: How to Dockerize a Shiny Application with an Reproducible Environment’↩︎
This is the second post in a series (see the first post here).↩︎